Transform your Gibson Les Paul into a dream to play with this comprehensive setup guide. Even if you’re new to guitar maintenance, this article will walk you through every essential adjustment. Many of these tips can also be applied to other single-cut guitars like SGs, Firebirds, and 335s.
Essential Tools for Your Guitar Setup
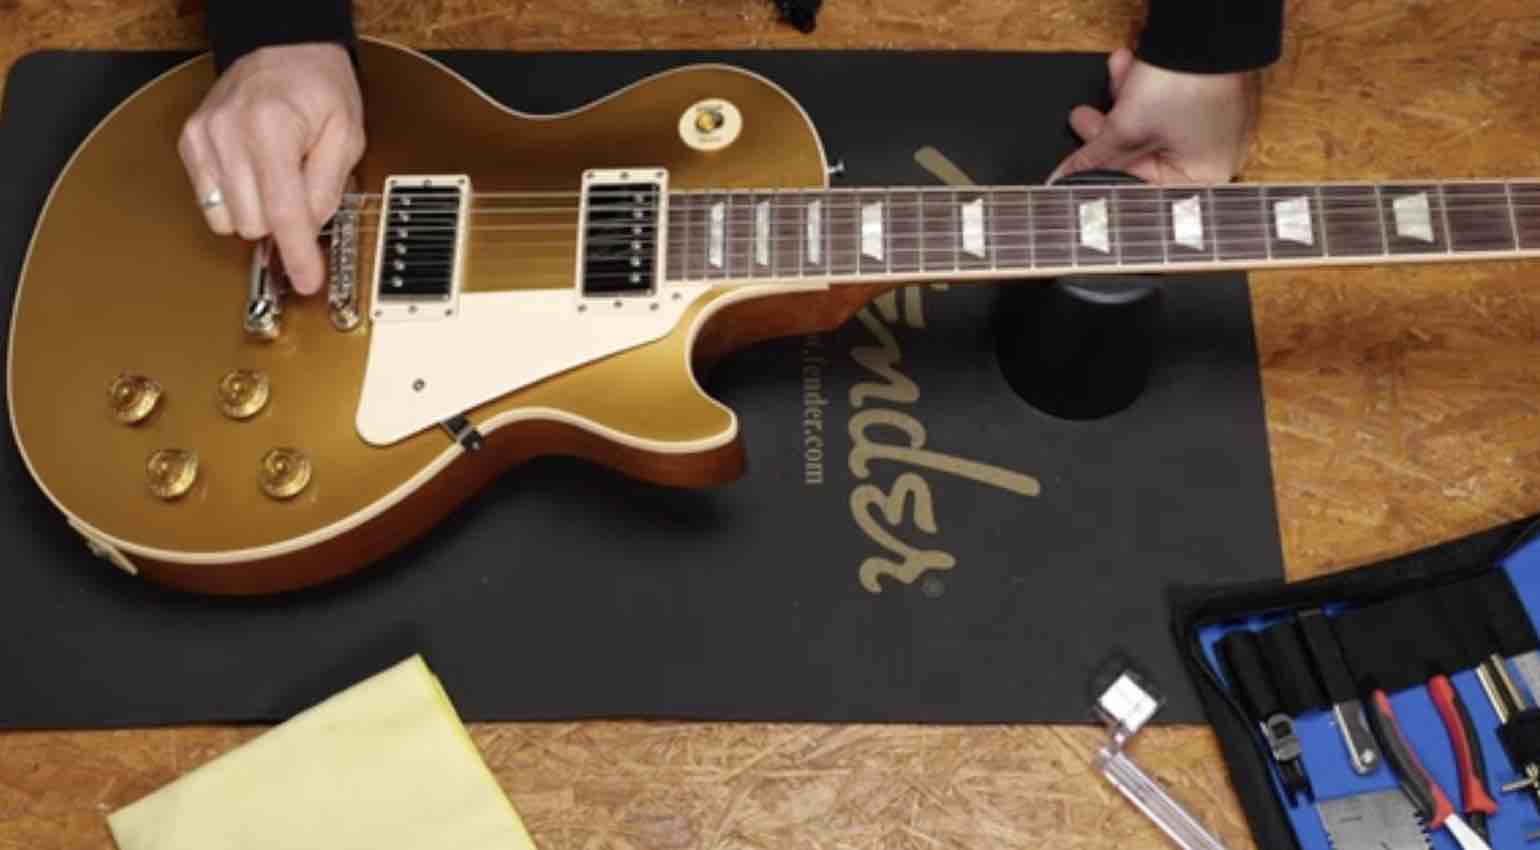
Before you begin, gather the following tools and ensure you have a clean, dedicated workspace to prevent accidental damage to your instrument.
- A fresh set of guitar strings
- A guitar work mat or a clean towel
- Neck support (e.g., a rolled towel or a dedicated neck rest)
- Phillips head screwdriver
- Flat-head screwdrivers
- Radius gauges
- Feeler gauges
- Capo
- String winder
- String cutters
- Electronic tuner
- Jack lead
- ¼” box spanner
- Stanley blade (utility knife)
- Engineer’s ruler
- Sharpie pen
- Fretboard oil (e.g., bore oil or lemon oil)
- Fine-grit wet and dry sandpaper
- Fret erasers/rubbers
- Wooden toothpicks
- Brasso (or similar metal polish)
- 50p coin (or similar coin for stopbar adjustment)
- A ball of string
- Clean rags
A dedicated Guitar Tool Kit is a useful thing to purchase I you need to frequently set up your guitars.
It should contain the correct tools for working on guitars.
Ernie Ball Musician’s Tool Kit at Andertons
Ernie Ball Musician’s Tool Kit at Sweetwater
Ernie Ball Musician’s Tool Kit at Thomann

Prepare Your Workspace and Your Guitar
Dedicate a clear, calm space for your guitar setup. A relaxed environment will help you focus and avoid mistakes. Consider putting on some of your favorite music to enhance the experience.
Always wash your hands thoroughly before handling your guitar to prevent transferring dirt and oils. Keep a clean towel nearby to wipe your hands as you work.
Lay down a work mat or a clean towel to protect your guitar’s finish. Use a neck holder or a rolled towel to elevate the headstock, providing stability and preventing movement during the setup process.
MusicNomad Cradle Cube Neck Support at Andertons
MusicNomad Cradle Cube Neck Support at Sweetwater
MusicNomad Cradle Cube Neck Support at Thomann

Use TRAIN to set up easily
Follow our TRAIN guide for basic setup order, and it will make life a lot easier. This simple setup guide will work on any guitar.
Step 1: Clean That Fretboard
Begin by removing the old strings from your guitar. Now, it’s time to thoroughly clean your guitar’s fretboard. Gently scrape off any old residue and dirt using a Stanley knife blade and a clean rag. Take your time to ensure all grime is removed.
Once clean, nourish your fretboard with a fretboard oil like bore oil or lemon oil. Apply a small amount to a clean rag or your finger and gently rub it over the entire fretboard. Allow it to soak in briefly before wiping off any excess. This step is crucial for preventing the fretboard from drying out, which can lead to fret lift or cracking, especially in warmer climates.

Polish Frets
Next, polish your frets. Fret erasers are an excellent and easy-to-use option. They come in various grits, allowing you to gradually work up to a mirror-like shine. This makes playing much smoother and more enjoyable.

Step 2: Check Your Bridge and Nut
The nut and bridge saddles are the main anchor points for your strings. Clean the nut slots using a wooden toothpick to remove any old lubricant and dirt. Repeat this process for the bridge saddles, ensuring they are clean and smooth.
If you find any sharp grooves or dings in your nut or saddles, use a very fine-grit wet and dry sandpaper to gently smooth them out. Be careful not to deepen or widen the slots.

Polish the Nut
For an extra touch, polish the nut and saddles before re-stringing. Brasso, with its fine abrasive properties, works well. Apply a small amount to a piece of string and work it into the nut slots and over the bridge saddles. Fraying the string slightly can help it get into the grooves. After polishing, use a clean rag to remove any Brasso residue.
Step 3: Set Your Radius
Your guitar’s fretboard has a specific radius (curvature), and your bridge saddles should match this radius for optimal action. A Gibson Les Paul typically has a 12″ radius. Use radius gauges to ensure your bridge saddles align with this curvature. An incorrect radius can compromise your guitar’s playability.
Unlike some guitars, individual saddle heights cannot be adjusted on a Les Paul. If you encounter issues, it may indicate a worn bridge or saddle that needs replacement. Always keep the original worn parts, as a luthier might be able to repair them.
Step 4: Truss Rod Inspection
Carefully remove your guitar’s truss rod cover, keeping the small screws in a safe place. You’ll find the truss rod adjuster nut underneath; Gibson models typically use a ¼” brass nut, requiring a ¼” box spanner for adjustment. Les Paul copies might have a hex nut.
Before making any adjustments, mark the current position of the truss rod nut with a Sharpie pen. It’s best to inspect it now while the strings are off, but hold off on adjustments until the guitar is re-strung.
Important Truss Rod Adjustment Principles:
- “Righty-tighty, lefty-loosey” (clockwise to tighten, anti-clockwise to loosen).
- Always try loosening it slightly first.
- If the truss rod feels stiff or is already fully tightened, it might indicate a more significant issue that could require a luthier. The Sharpie mark will serve as your starting reference.
Read our Truss Rod and Intonation Guide to learn more.

Step 5: Re-string and Lubricate
Re-string your guitar with your preferred string gauge. The choice to “top wrap” your strings is personal and can depend on your Les Paul’s neck break angle. The goal is to securely lock your strings to prevent slipping and maintain tuning stability.
Once re-strung, tune your guitar to pitch.
Lubricate Your Slots
To further enhance tuning stability, lubricate your nut slots and bridge saddles. Products like Big Bend’s Nut Sauce are ideal, offering a convenient applicator. A small amount at these contact points will significantly reduce friction.
Big Bend’s Nut Sauce at Andertons
Big Bend’s Nut Sauce at Sweetwater
Big Bend’s Nut Sauce at Thomann

Step 6: Setting Your Action
- Check Neck Relief: Place a capo on the first fret. Press down on the 15th fret of the low E string. Use the straight string as a visual guide to assess the neck’s forward bend.
- Measure Clearance: Insert a feeler gauge over the eighth or ninth fret, underneath the string. Aim for an ideal clearance of .007”.
- Less than .007” can cause fret buzz.
- More than .007” will result in high string action.
- Adjust Truss Rod: Now, adjust the truss rod. Clockwise turns will reduce the clearance (tighten), and anti-clockwise turns will increase it (loosen).
- Always loosen slightly first.
- Make small adjustments, no more than a quarter turn at a time.
- The smallest adjustment often makes a big difference.
- If the truss rod won’t tighten sufficiently, or if the brass nut is loose, it might require a luthier’s attention. Sometimes, washers are added to compensate for a lack of adjustment.
Check Your Nut Height
With the capo on the third fret, check the clearance over the first fret and under the string. You should aim for .004” to .008” clearance on your feeler gauge.
Set Your Bridge Height
At the 12th fret (with no capo), measure the distance of the low E string. Set it to 2mm. For the high E string, set the clearance to 1.5mm. Re-tune your guitar and double-check the measurements.
Understanding the different types of Les Paul bridges (ABR or Nashville) can be helpful for identification.
Step 7: Set Intonation
Intonation ensures your guitar plays in tune across the entire fretboard.
- Protect Your Finish: Place a cloth over your guitar’s body to prevent scratches if your screwdriver slips.
- Tune and Test: Use the correct size screwdriver for your bridge saddles. Play a harmonic at the 12th fret, then compare it to the fretted note on the same fret for each string.
- Adjust Saddles:
- If the fretted note is sharp, move the saddle backwards.
- If the fretted note is flat, move the saddle forward.
- Re-tune: Once intonation is set, re-tune your guitar.
Optimize Your Stopbar with a Coin
When adjusting your stopbar, always use a coin (like a 50p coin) as it was designed for this purpose. Avoid using a flathead screwdriver, which can damage the finish.
Lowering the stopbar increases tension on the bridge, which can sometimes lead to bridge collapse over time on older Les Pauls.

Top Wrapping: A Personal Choice
Many players choose to “top wrap” their Les Pauls to reduce string tension over the bridge and allow the stopbar to be set as low as possible. This helps prevent the strings from hitting the back of the bridge, which can create undesirable friction.

Break Angle
While not a magical fix, top wrapping can improve the break angle over the bridge, especially on Les Pauls with less-than-ideal neck sets.
More useful Guitar Bomb How-To Guides
Video


#gibsonlespaul #guitartech #setupguitar
This article may contain affiliate links to Andertons, DeathCloud, Donner, Fender, Gear4Music, Positive Grid, Sweetwater, and Thomann that help finance the running costs of GuitarBomb. We will receive a small commission if you buy something through these links. Don’t worry; you pay the same price, and it costs you no extra to use these affiliate links for your purchases.


