

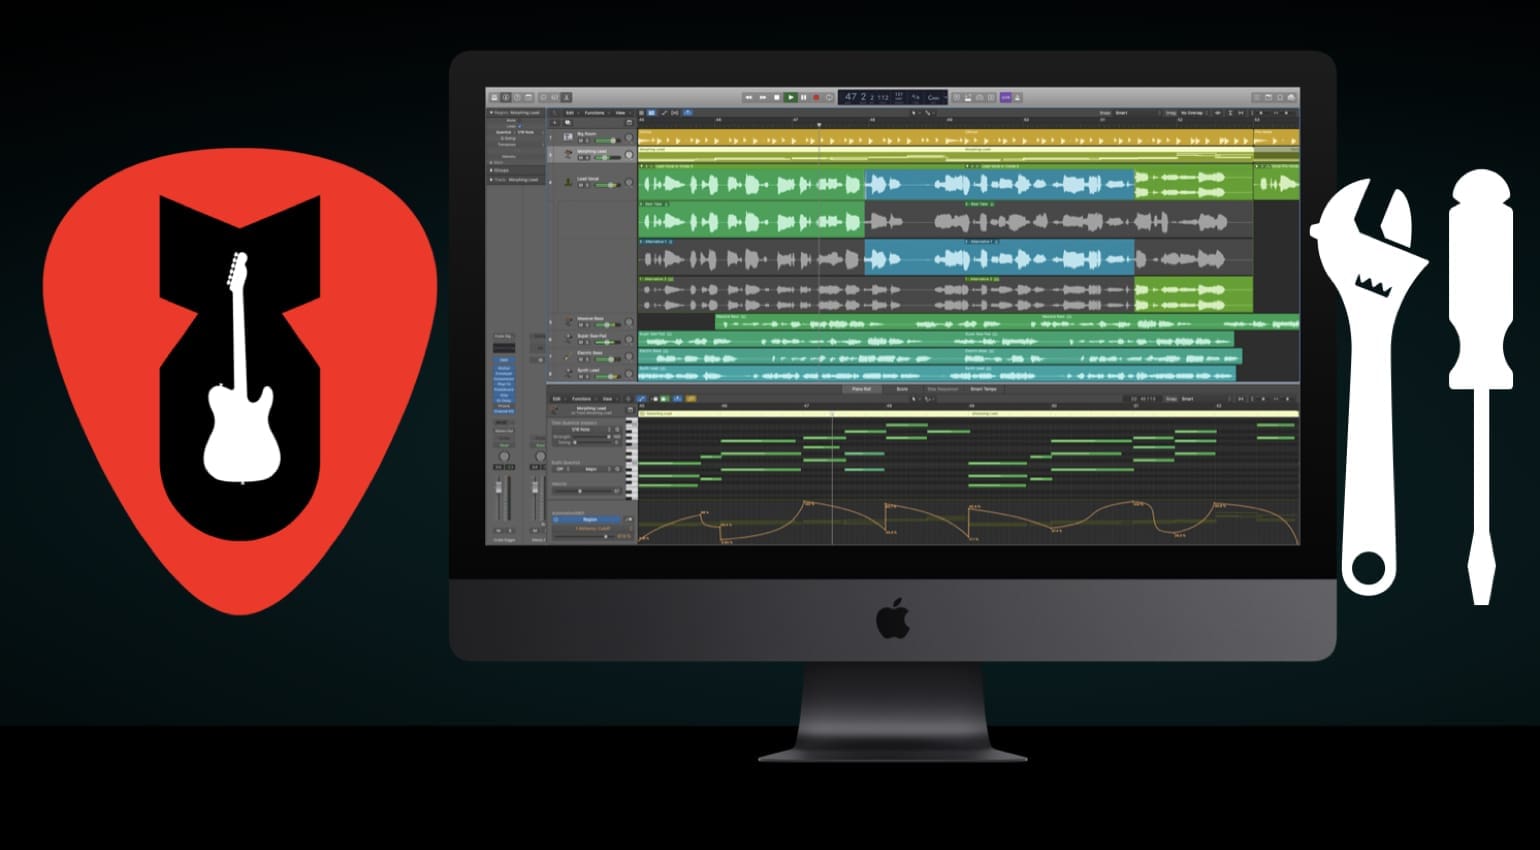
If you have an Apple Mac and have purchased a copy of Logic Pro, you may not be aware that you can maximize your new DAW setup to give you more plug-ins and potentially more power.
How to optimize Logic Pro
When working with Apple’s Logic Pro software, it is worth looking at what you are about to do with your projects. There are some specific settings for making Logic Pro more powerful, depending on whether you are recording live tracks or using it to mix down your song.
Intel & Apple Silicon
Both processor types (CPUs) are multi-core, which means you have essentially multiple ‘mini-computer brains’ assigned to various tasks, and it is worth knowing that you can fine-tune Logic Pro to make the most of these processors.
Currently, you can buy either Intel or Apple Silicon processors in new Macs, both are multi-core, and both can be set up in Logic Pro to give you a much higher plug-in count with a couple of simple tweaks.
We can also tweak the performance of the system depending on what we are about to do. Generally, we usually have two modes of using a DAW, like Logic Pro, which fall into Recording and Mixing. Each needs to be set up in a slightly different way to maximize the power available to Logic Pro, and I’ll show you exactly how to do this in a moment.
But first I want to show you how to check your whole Mac system.

Activity Monitor
Your Apple Mac contains a tool called Activity Monitor, which you can find either by looking in your Applications folder and then inside the Utilities folder. Or you can hold down the Command key (there are two, with one on either side of the Spacebar) on your keyboard and tap the Spacebar, it will launch Spotlight Search and there you can type in “Activity Monitor,” and the Mac will take you straight there a lot quicker.
Activity Monitor is used to show you how hard your Mac is working and which parts it is using, so I would recommend you have a look at it, and I’ll show you where to look.
There are five headings within the Activity Monitor; CPU, Memory, Energy, Disk and Network. Today we will use CPU, Memory, and Disk and use these measurements to watch how our Logic Pro tweaks improve the performance of the DAW when applied.
We can see which applications are using the most CPU and Memory by referring to Activity Monitor, so I suggest you open the Activity Monitor and leave it running as you tweak Logic Pro and watch how these tweaks affect your performance.
In the first column, with the CPU tab, here we can see what percentage of the CPU our Applications are using. This usually is the percentage of one of those cores on our multi-core CPU. At the bottom of the CPU tab, we also have CPU Load, and this shows how hard all our cores are working.
There is also something called Hyper-Threading which is where Intel CPUs allow more than one thread to run on each core. For this article, we don’t need to be too concerned with this, as it is an automatic process, which we cannot directly influence.
Logic Pro CPU Meters
Logic Pro also has a set of CPU and Disk meters; you can access these by clicking on the main display at the top of your Logic Pro project and choosing Custom from the menu on the right of the window.
Once you have Custom chosen, you can double click on the CPU and HD section to bring up Logic Pro’s Performance Meters. Here you can see your Processing Threads (Cores) and Drive I/O (hard drive performance)
Logic Pro X CPU Optimization for M1 and above
With the new Apple Silicon M1 CPUs, we can influence how the 8 multi-cores are engaged, so it is worth using Activity Monitor to gauge performance with these. You’ll also notice your Processing Threads will double in Logic Pro under Performance Meter once you follow these instructions.
Firestorm Cluster vs Ice Storm Cluster
The Apple M1 has 8 cores, with two clusters that we can separate into; 4 high-performance cores/the Firestorm Cluster, which uses more energy, and 4 high-powered cores/the Ice Storm Cluster, which aren’t as high performance but use a lot less energy.
Generally, speaking the Ice Storm cluster is used for day-to-day things like email and word processing, as these require little power, and it keeps your Mac running cool and potentially longer if you are running off the battery on a laptop machine.
Logic Pro will, by default, just want to use the Firestorm Cluster, as it is a high-performance pro application. This gives users a robust setup, but we can force Logic Pro to use all 8 cores, and when we do, it potentially means we could double our plug-in count, which is excellent for mixdown or anyone who uses a lot of soft synths.
We can also tell Logic Pro how many of our Intel cores we want to use, adding more plug-ins and virtual instruments to our tracks. Therefore, this tweak will work on both types of processors.
Logic Optimum Settings
Open Logic Pro and head up to the Logic Pro menu at the top left, click on Preferences and choose Audio.
For Mixdown and all-in-the-box tracks where you are using nothing but plug-ins, virtual instruments and samples, it is best to set the I/O Buffer Size to the maximum value of 1024, as we aren’t recording any instruments or vocals from outside the system. So we do not need low latency for monitoring as we play.
Next, go to Processing Threads and choose the maximum available, as this will give you all the cores of your CPU for both Apple Silicon and Intel machines. This is one of the most critical settings and allows you to potentially double your plug-in count.
Now set the Process Buffer to Large and finally put the Multithreading to Playback Tracks.
With these choices, you now have Logic Pro set to the optimum settings for mixdown, or if you are just using all the internal software synths, Apple Loops, and any third-party plug-ins. I tend to leave the Summing set to High Precision (64-bit), as it has no perceivable hit on CPU performance and is more accurate.
Recording with low latency
For recording, we need to balance the system slightly differently, so set the I/O Buffer Size as low as you can, making Logic work harder but will give you a much lower latency. As a guitarist, I would want my latency low, so there is no noticeable delay when I hit a note and hear what Logic Pro is recording and hear through headphones or studio monitors. If the latency is too high, there will be an audible delay, and it will not play in time with the track.
Next, go to Multithreading and set it to Playback & Live Tracks. This will give you the best performance for playing along to the tracks already recorded.
Recording Audio to External Drives
If you are recording vast amounts of audio tracks and need them to play smoothly, then it is often best practice to record these to an external hard drive. It will stop you from filling your main System drive up and give you a higher track count within Logic Pro for playback.
Audio Path
You can choose the recording path in Logic Pro’s Preferences under the Recording option and then set the path to your external drive from the Recording Project Settings option.
You then set the Audio Recording Path to your external hard drive, choose the Set option and point it toward your external storage device.
What Drive should I use?
I’d recommend if you need an external hard drive to use the USB-C or Thunderbolt ports on your Mac, with either a 7200 rpm standard hard drive or a fast external SSD drive. This way, you will have plenty of speed for lots of tracks all playing back simultaneously, and you won’t fill up your main System drive inside your Mac.
Also, if you check Activity Monitor, you will see the main Mac internal drive hasn’t got to work as hard, so you get better performance with Logic Pro.
Logic Pro’s Performance Meters only show you how it performs, so use Activity Monitor to get the bigger picture of how your Mac is performing.
Memory
I’ve left memory (RAM) until last because many musicians can be confused about how much to have inside their Mac when buying one. Plus, if you already own your Mac, you may not be able to change how much is in there, as many of the newer Macs have integrated memory, and this includes all the current Apple Silicon machines that use the M1 processors.
Memory Pressure
When using Logic Pro turn off all your other Applications. As they will use memory which you could be using in Logic Pro. You can watch them doing this in Activity Monitor. When you look at the bottom of the Memory setting in Activity Monitor, you will see a section called Memory Pressure. It will also show you how much memory your Mac has and how much is being used.
How much memory?
Ideally, as a rule of thumb, buy as much memory as you can afford with Intel-based Macs. However, with the new Apple Silicon Macs, the memory allocation is a lot more efficient so you can get away with a lot less memory.
As an example, my Intel i9 12-core MacBook Pro has 32GB of memory installed, yet my M1 Mac mini only has 8GB of memory and will outperform my Intel machine with most tasks in Logic Pro.
Essentially, close down all your other applications if you want the optimum Logic Pro performance. I would suggest you create a new user profile in Mac’s System Preferences under User & Groups and use it just for running Logic Pro, with no other background applications running.
I would suggest you check out Mark Payne as his video below gives a good overview of how Logic Pro performs with the M1 Macs, and he goes over the basics clearly and concisely.
Video

