
How do you get the best signal path into your DAW? Some essential recording tips and tricks, and some simple guidance in getting started in audio recording.
How do you get the best signal path into your DAW?
Often, I meet musicians who are just starting; they have a computer system, have purchased an audio interface, possibly even downloaded a DAW, and now want to start recording.
However, with all this tremendous virtual studio gear at their fingertips, they struggle to establish a good signal path, often due to a lack of understanding of how the equipment works and what it requires.
Line vs. Mic vs Instrument
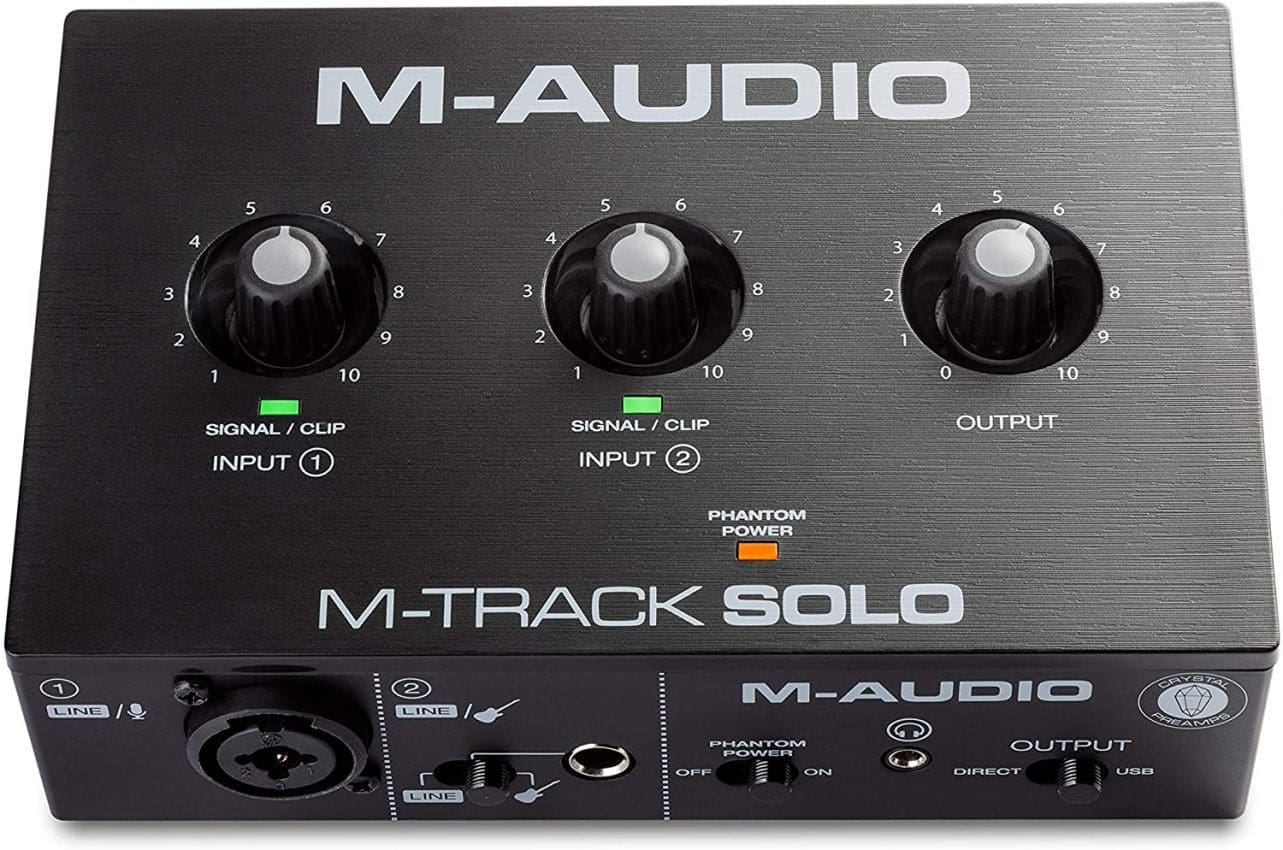
Many home studio users are confused about Input Levels on their audio interfaces and how to set them correctly. In principle, all three input levels are passed over the same cable type, so should you be using Line, Mic, or Instrument?
Setting Levels
We are talking about what your audio interface expects to ‘hear’ at a particular input.
A good example is your standard dynamic microphone, as your audio interface is designed to pick up very quiet sounds. Therefore, your audio interface must ‘listen hard’ and amplify this tiny audio signal to a level acceptable for recording, often by using the audio interface’s internal mic preamp.
Your everyday dynamic microphone has no power source of its own, so your audio interface is responsible for raising the gain level.
If your audio interface is set to mic level and you plug in a synth, then it will overload that input and sound awful. Plus, there is no headroom left, and this means you have no space left to add louder passages that you might get by playing more dynamically (harder) or pushing a synth filter into oscillation, which would peak the input level even further.
So, with keyboards, samplers, and the like, we tend to use line-level, as your audio interface expects a solid signal.
As a guitar player, I often use instrument-level, which is typically used for passive instruments like electric guitars. It is still a low signal compared to the synthesizer, but much stronger than the dynamic microphone in my first example.
If you are going straight into your audio interface with a guitar or bass, you’ll want to use this one. However, if you use a microphone to capture the sound of a real guitar amp, then you will use that microphone input instead. With my bass guitar, I often use a DI box first and then plug it into a line-level input, since my DI box outputs at Line level.
Not all DI boxes output at relatively high levels, and many output at much lower levels. Therefore, you should check with the manufacturer or refer to the DI box manual for accurate information.
Gain vs. Volume
Gain, Trim, and Volume are all options commonly found on the front of your audio interface, and sometimes, you will see all three of them. Knowing how to set them up for a good signal path will yield a great-sounding recording.
Usually, we associate the Gain control with an internal preamp, and when we adjust the Gain control, we are specifying how much we want our signal amplified by that preamp.
The idea is this: we have a quiet signal like our dynamic microphone and need to make it stronger, so we amplify it using our audio interface. Gain control so that our DAW can capture a strong signal for recording.
Trim is usually associated with line-level instruments, such as the keyboard. So, what we are doing here is attenuating the signal. As the Line Level is already so robust, we sometimes need to adjust it by either boosting or attenuating our signal above or below the line level.
Volume
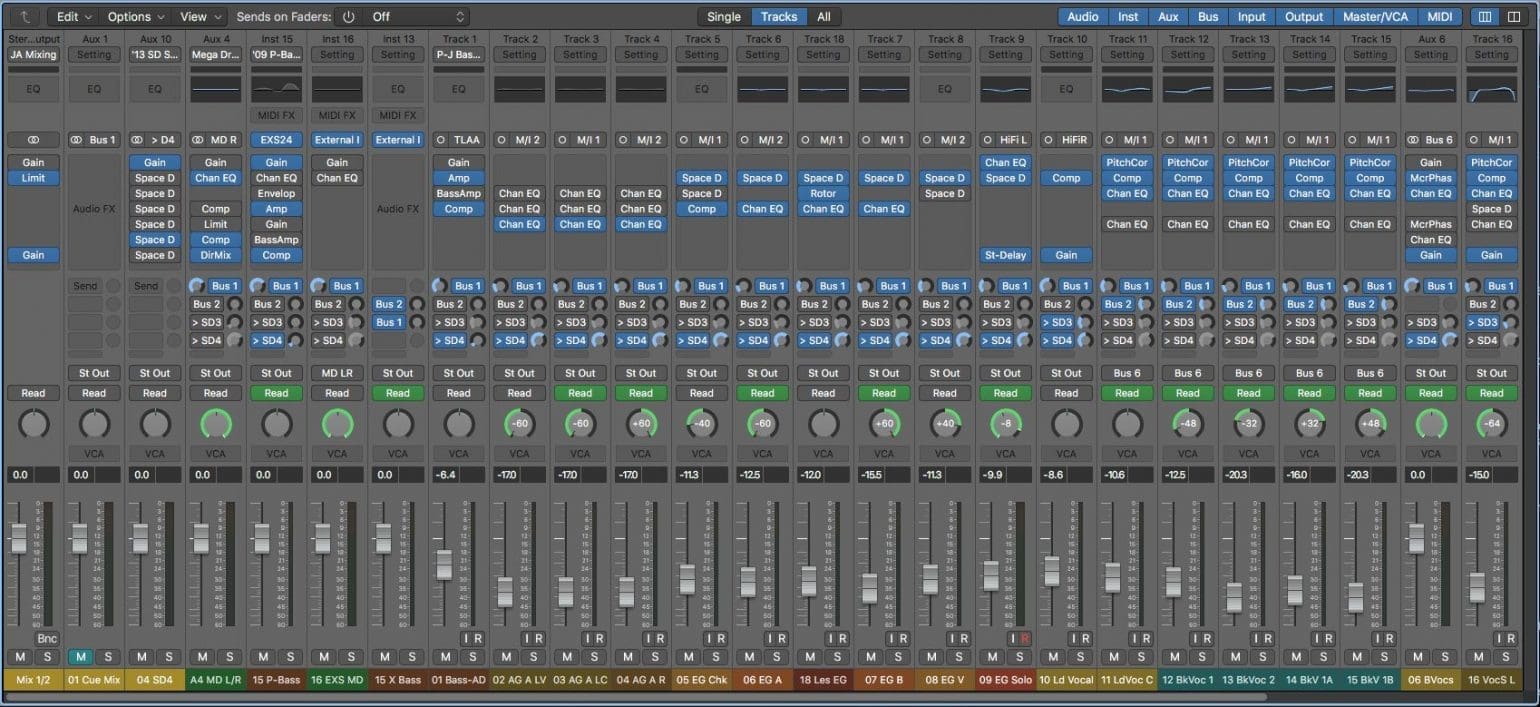
Now, inside our DAW, we can also adjust the Volume of an individual channel, usually by a fader on a virtual mixing desk, and we may be combining our recorded signal with soft synths and loops, so our recorded tracks need to stack well up against these.
Also, consider that many loops included with DAWs are heavily compressed and will sound huge.
Ideally, we want a strong signal at our audio interface, so we use either Gain or Trim to achieve it. We are looking for an excellent, healthy audio level that doesn’t ‘clip’ into the red here.
We can add compression and effects within the DAW to enhance our recorded sounds. And this will be a lot easier if we have a good, clean recording with no clipping or hiss.
Avoiding Hiss
If we have set our gain control too low, we will have to raise the channel volume in the DAW, which brings with it all sorts of hiss and extra noise we really don’t want in our recordings.
Therefore, set your Gain or Trim controls first, and remember, you are looking for a good, consistent signal that does not clip into the red on your interface. Ideally, play some louder passages, and whether it’s a keyboard, your voice, or a guitar, ensure that your loudest volume doesn’t push anything into the red on your input metering.
Once you have this, use the channel volume in your DAW to achieve a more suitable level for mixing and listening.
Getting a significant signal isn’t hard, but it is worth doing whenever you are recording anything into your DAW, and with a bit of practice, it becomes second nature.
More How-To Guides on Guitar Bomb
#DAW #Recording Guitars
This article may contain affiliate links to Andertons, DeathCloud, Fender, Gear4Music, Sweetwater, and Thomann that help finance the running costs of GuitarBomb. We will receive a small commission if you buy something through these links. Don’t worry; you pay the same price, and it costs you no extra to use these affiliate links for your purchases.


