
Slotting the bridge of your acoustic guitar is a highly regarded modification that can drastically improve your instrument’s tone, volume, sustain, and overall responsiveness. By carving a channel for the strings directly into the bridge wood and switching to solid, unslotted bridge pins, you improve the string’s break angle over the saddle and ensure the ball-end anchors perfectly flat against the bridge plate inside the guitar.
Slotting an Acoustic Guitar Bridge
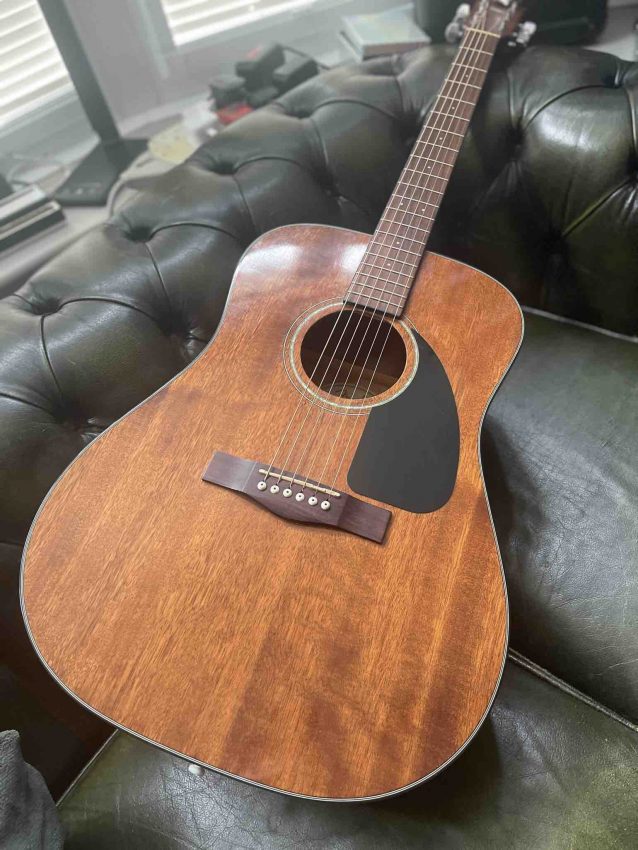
A few years ago, I inherited an acoustic guitar from a family member because they no longer had time to learn to play it. They knew I played and figured I would get more use out of the guitar. When it arrived, it had very high action and needed setup and new strings.
I did restring and set it up, but it didn’t have a huge voice and sounded a little muted, dull, and lifeless. Therefore, it sat unplayed for most of the time in my lounge, and on occasion, I would tune it up and knock out some songs.
This Fender acoustic had the potential to sound much nicer, so last summer I decided to slot the bridge to see if I could improve the tone. The whole process was super simple and required minimal tools, some patience, and a little experimentation. Thankfully, I already own a set of thin needle files, and among them were a few I could use to do the job.
More Responsive
The final result was a huge increase in volume, with a far more responsive guitar that now accentuates the dynamics of my playing and projects much more than it did before I undertook this simple upgrade.
I’ve listed the ‘correct tools’ below, and I’ll add some links to where you can source them if you want to try this modification out yourself.
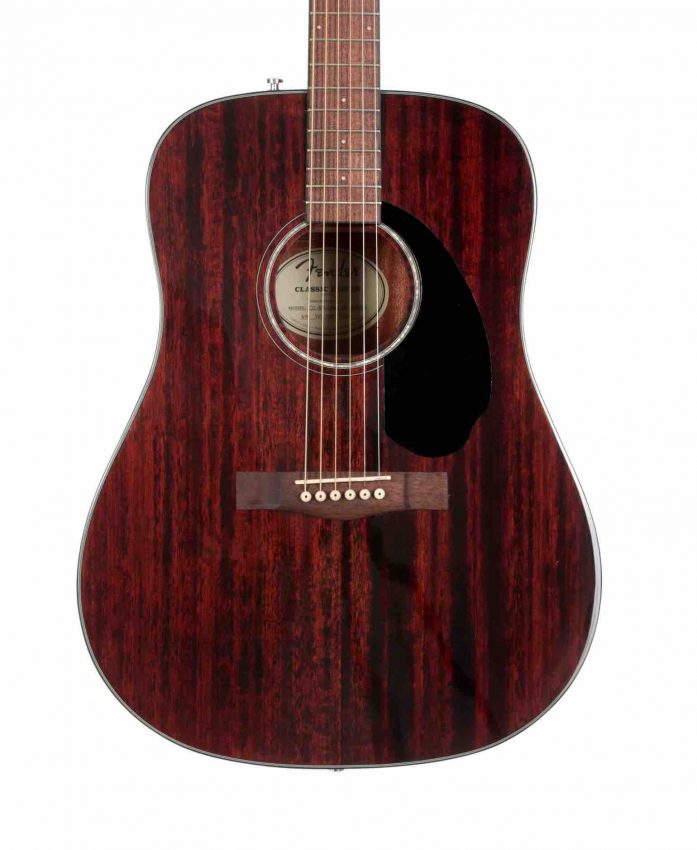
The guitar is a Fender CD-60S All-Mahogany Dreadnought, and so it’s not an expensive guitar; this ‘modification’ was well worth the effort on my part and was also an easy upgrade that required minimal tools, and as it is a budget acoustic that sells for around $200, I think the effort was well worth the reward.
Fender CD-60S All-Mahogany Dreadnought
Here is a comprehensive guide to performing this modification properly.
Why Slot Your Bridge?
-
Better Tone and Projection: Direct contact between the string and a slotted bridge transfers vibrational energy to the soundboard much more efficiently. You will likely notice the guitar becomes significantly more responsive.
-
Prevents Bridge Plate Wear: Traditional slotted pins can allow the metal ball end of the string to ride up into the gap, chewing up the wooden bridge plate over time. A slotted bridge keeps the ball anchored firmly and safely against the plate.
-
Secure String Seating: Once properly slotted, the string is held securely by the bridge itself, so the pin acts merely as a plug. Under tension, you could theoretically remove the pin, and the string would hold itself perfectly in place.
Tools Required
-
Bridge Pin Hole Reamer: Used to taper the holes (usually a 5-degree taper) so that new solid pins fit snugly without wobbling.
-
Bridge Pin Hole Saw: A small saw used to establish the initial vertical slot.
-
Bridge Pin Hole Slotting Files: Used to widen, round, and smooth the slots. These come in varying widths (often .028″ to .087″) to accommodate different string gauges. Alternatively, a small elliptical file can be used.
-
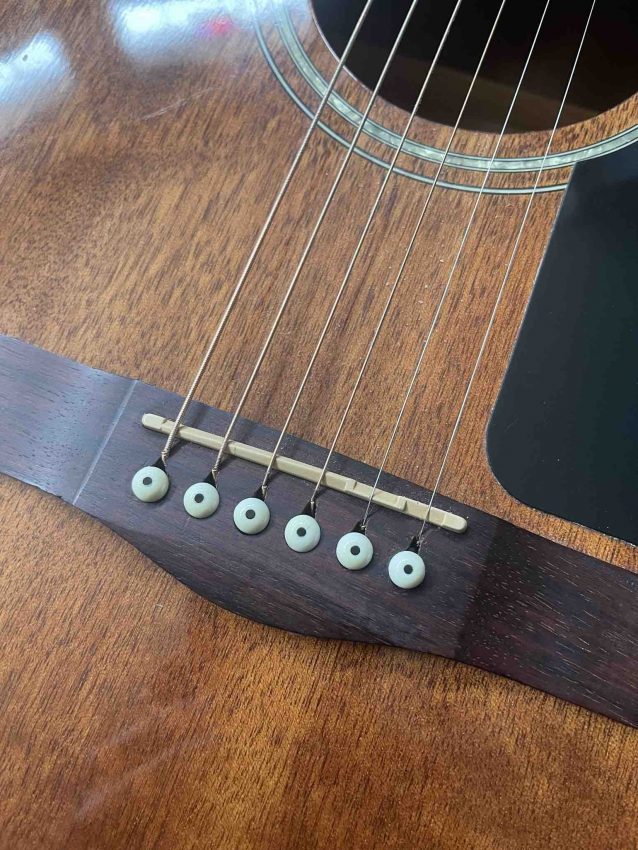
Unslotted Bridge Pins: Solid pins (such as bone, ebony, or brass) with a 5-degree taper. Note: If you are on a tight budget, you can reuse your old slotted pins by simply turning them around 180 degrees so the slot faces the back of the guitar.
-
Cardboard or Thick Paper: To protect your guitar’s top from accidental scratches.
Step-by-Step Process
1. Prepare the Guitar and Protect the Top
Remove all the strings and your existing bridge pins. Take a piece of cardboard, cut a rectangular hole in the middle matching the exact dimensions of your bridge, and place it over the guitar. This ensures a slipped tool won’t damage your guitar’s finish.
2. Ream the Pin Holes (If upgrading to unslotted pins)
Most unslotted pins require a 5-degree taper to fit correctly. Insert your 5-degree reamer into the pin holes and turn it gently. Go very slowly—it usually only takes a turn or two. Stop frequently to check the fit of your new pins. You want them to sit snugly in the hole without dropping entirely through or sitting too high.
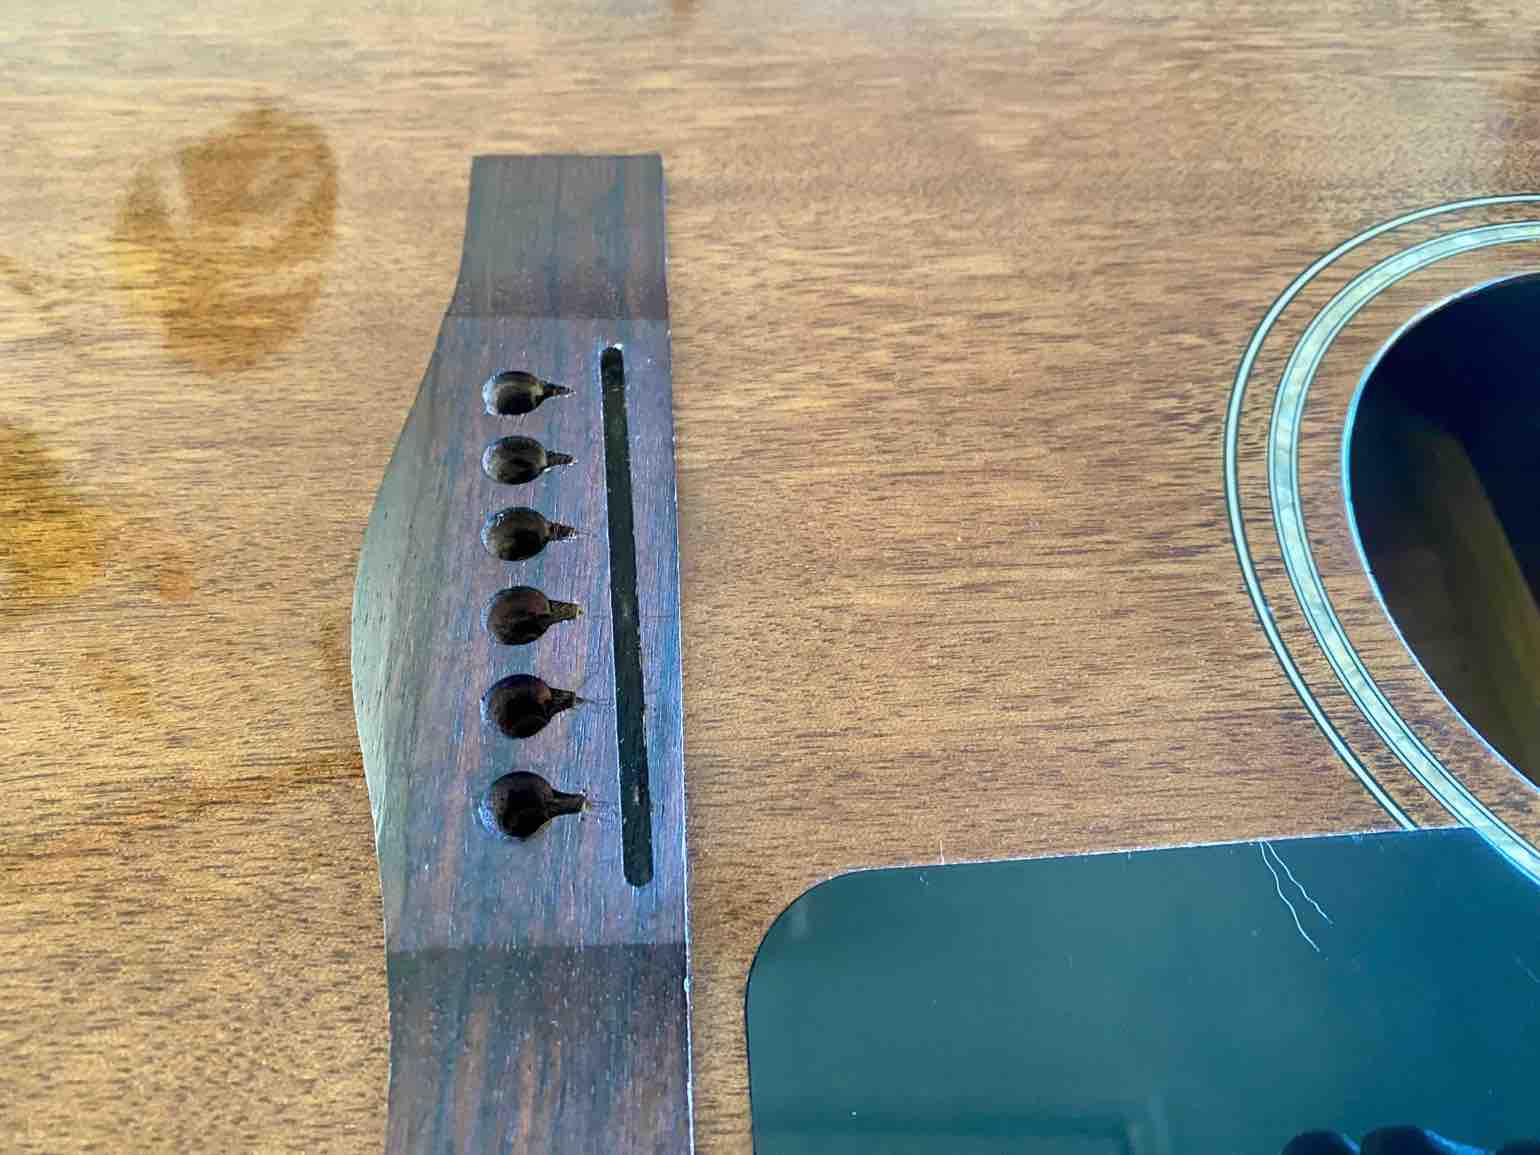
3. Cut the Initial Slots
Insert the bridge pin hole saw into the hole with the teeth facing forward toward the saddle. Gently saw up and down to cut a small channel into the wood. Tip: These specialized saws are designed to cut on the pull stroke (moving upwards) to prevent tearing the wood fibers inside the guitar. Cut just deep enough so that the string can rest inside the channel.
4. File and Widen the Slots
Using your bridge pin-hole slotting files, widen the initial saw cuts to match the strings’ gauge. The low E, A, and D strings will need wider files, while the high E and B strings require much narrower ones. The slot should follow the angle of the pin taper and have a smooth, radiused bottom so the string doesn’t kink or bind.
5. Test the Fit
Drop a string into the newly slotted hole, making sure the ball end pulls up tight and flat against the bridge plate inside the acoustic body. Insert your unslotted bridge pin. It should push down snugly using just thumb pressure. Do not force it! If the pin won’t seat all the way down, you need to file the string slot slightly deeper or wider to accommodate the string.
6. Final Cleanup
Reach inside the soundhole and feel the bridge plate (or use a small inspection mirror and flashlight). Lightly sand away any wood fibers or “blowout” created on the underside during the slotting process. This ensures a perfectly flat mating surface for the string ball-ends. Restring your guitar, tune it up, and enjoy the enhanced tone!
This video provides a straightforward, visual demonstration of how to perform the bridge slotting modification using basic files, while also letting you hear the distinct improvement in the guitar’s responsiveness.

Guitar Tools
If you need tools for the job, then you could use a set of small needle files and wing/hack it as I did. Or you can go to Stew Mac and purchase yourself some proper tools for the job, which is great if you are going to work on more than one guitar.
More Information
#How-To #Slotting Acoustic Guitar Bridge
This article may contain affiliate links to Andertons, DeathCloud, Donner, Fender, Gear4Music, Positive Grid, Stew Mac, Sweetwater, and Thomann that help finance the running costs of GuitarBomb. We will receive a small commission if you buy something through these links. Don’t worry; you pay the same price, and it costs you no extra to use these affiliate links for your purchases.


