

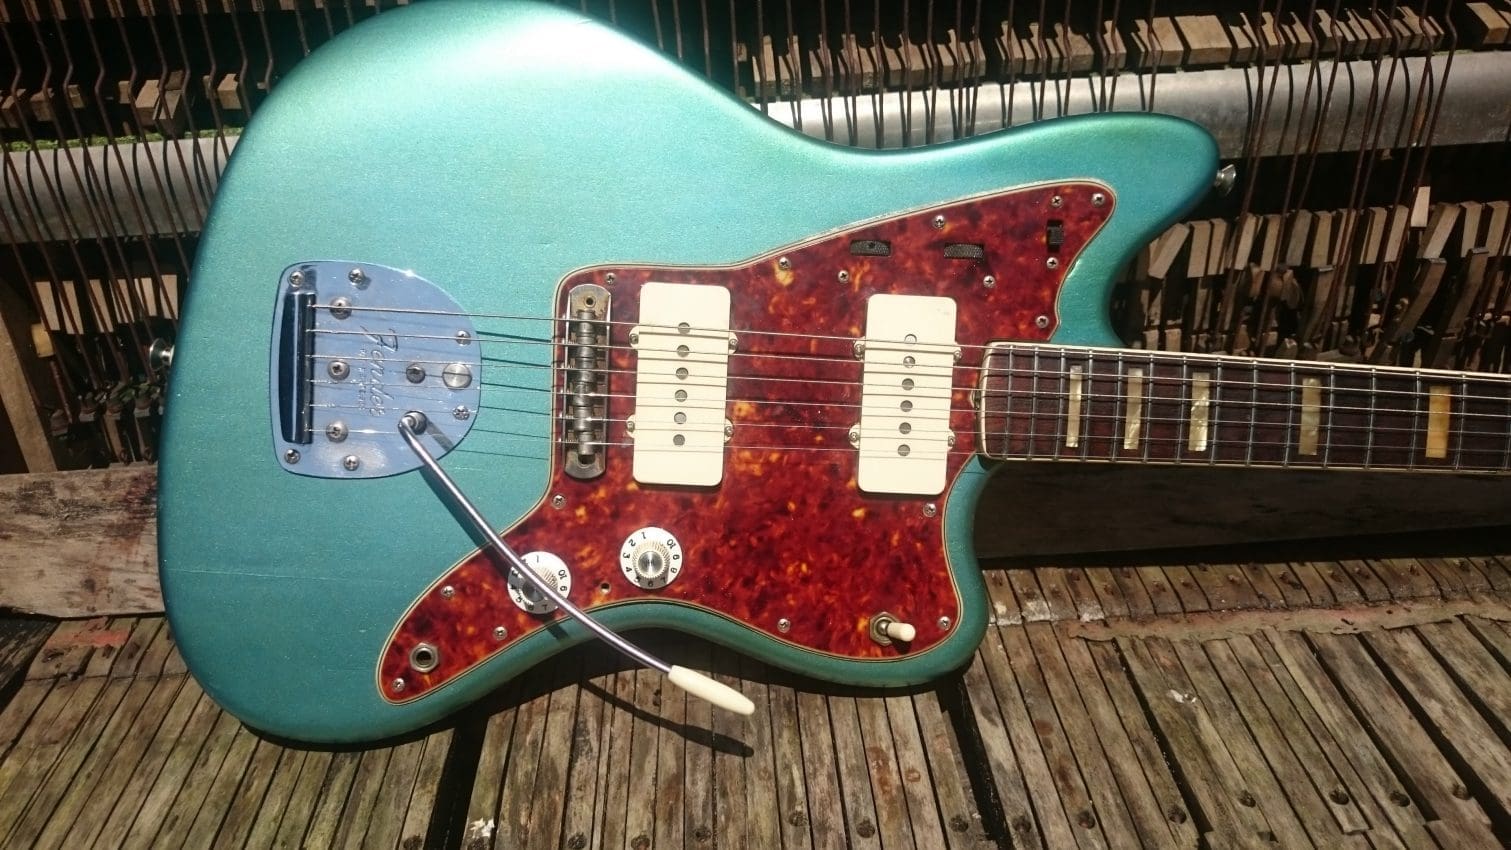
I’m a huge fan of the Fender Jazzmaster offset guitar design and have owned many of them over the years from vintage instruments, to modern versions and in that time I’ve found a few neat tricks to make your Jazzmaster trem stay in tune.
How to set up your Jazzmaster trem
Most Fender Jazzmaster guitars use a trem system which has a moving bridge, along with a lock button and it appears to get many players into a real pickle when it comes to setting them up.
I have found that actually, they aren’t that complicated and if you follow these basic steps then you are in for a good time with your favourite offset trem.
Throughout this article, I’m going to refer to the trem system as the vibrato. This setup will work for any guitar with this vibrato/trem system including the Fender Jaguar and Bass VI, etc
Neck Angle
A lot of Jazzmaster guitars need a good neck angle to get the correct ‘break angle’ for the strings so that the trem will work correctly.
Back in the late ’50s Leo Fender used shims in the neck pocket to achieve the best neck angle for his bolt-on guitar designs.

Shims
The shim needs to sit at the back of the neck pocket and is usually best if you use something solid, as Fender often used the leftover fibreboard pickup bobbin material.
You could opt for an old business card, a piece of a breakfast cereal packet or a slim piece of hardwood. Rolled-up pieces of tissue or foam aren’t going to cut it.
By placing the shim at the back of the neck pocket you increase the angle of the neck in relation to the body, pushing it further downwards.
This gives a much better break angle for your strings and keeps everything feeling right when you go to use your trem system as this causes the strings to pass over the bridge at a sharper angle (which is called break angle).
Thinner material for the shim is desirable, as you can always add more if it is needed. I would avoid huge great lumps of cardboard where possible, but a thin card like the cereal box card I mentioned earlier should do the trick. You want a nice solid connection between the neck and the body when it is all bolted tight.
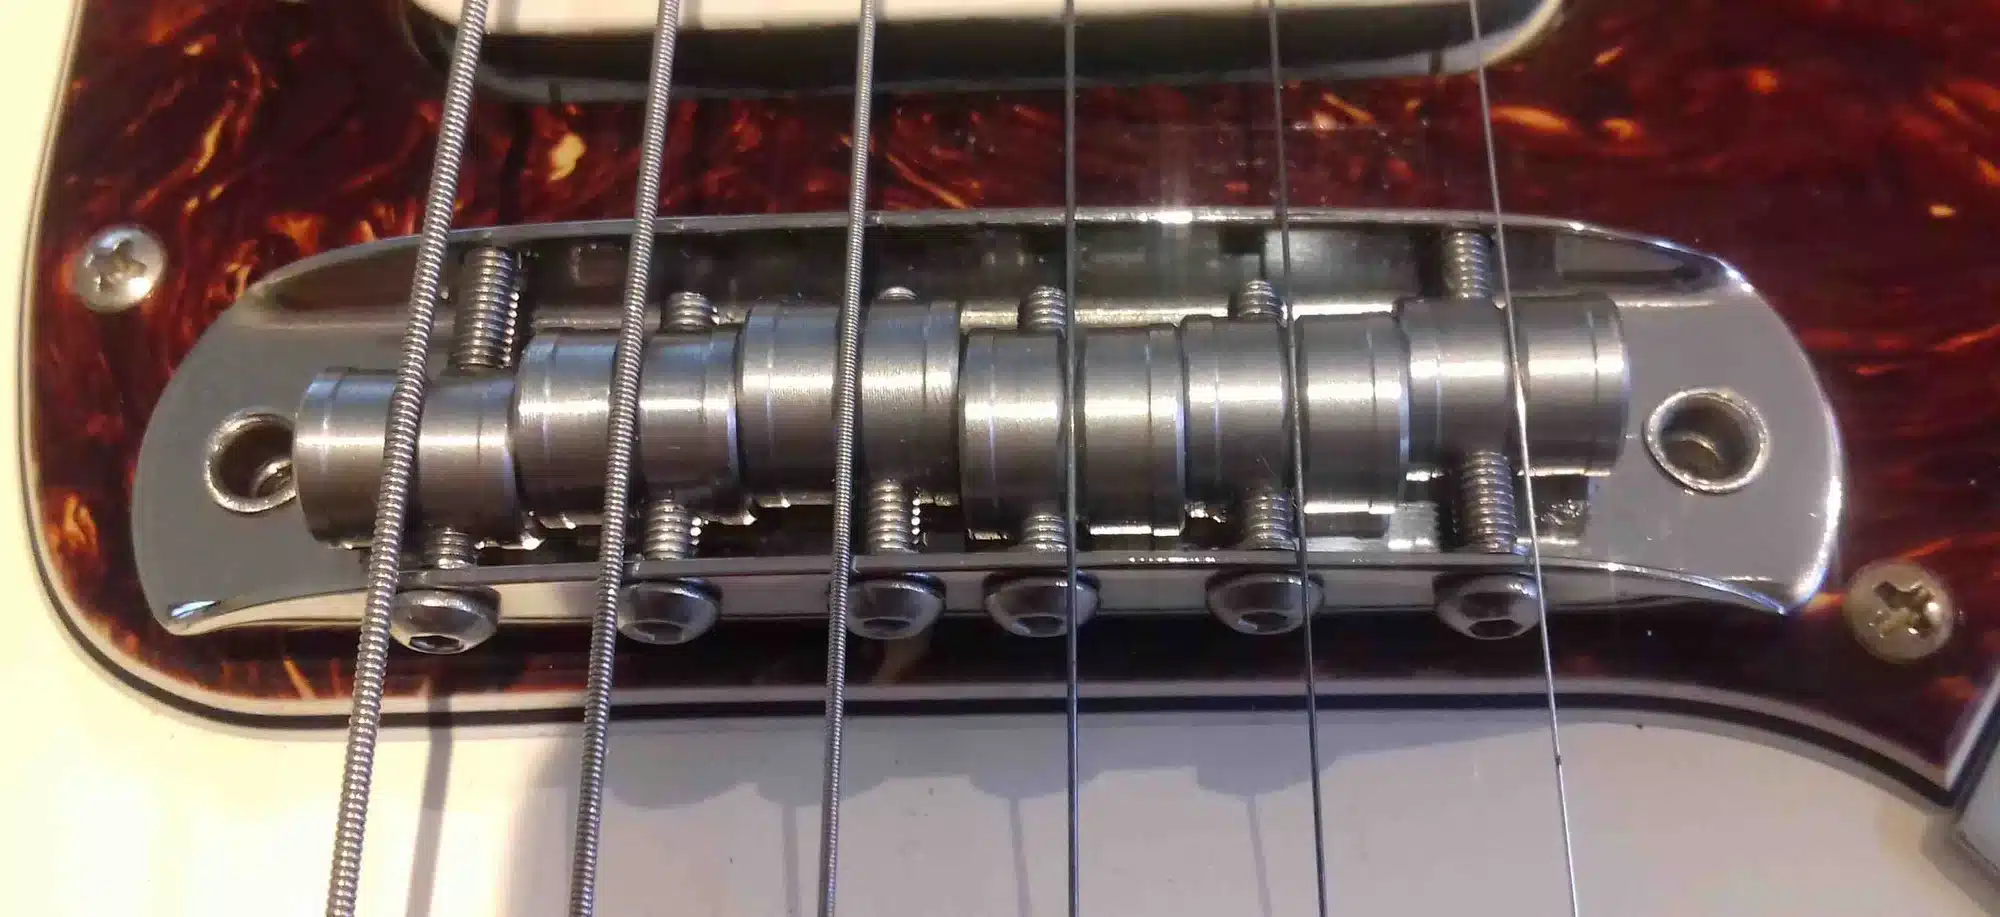
The Bridge
The original Fender Jazzmaster bridge design was created when heavier gauge strings were all that was available to buy.
Therefore, you will often find that light gauges like 9s won’t really be ideal for a Jazzmaster, and that really a set of 10s or 11s is what will work best. I can happily put a set of 10s on my Jazzmaster with no problem, so you could try there as a starting point.
You need to follow the radius of your guitar’s fretboard, so what you do is adjust the saddles using a hex key and get them to sit at the same radius as your neck.
Radius
Most vintage guitars have a rounder radius of 7.25″, whereas more modern instruments tend to have a 9.5″ or 12″ radius, which is a lot flatter.
If you buy a radius gauge then you can pop it on top of your bridge and follow the correct radius for your guitars neck. I honestly tend to do it by eye these days myself, but a gauge can be very useful, especially if you haven’t set up a guitar before.
Get your saddles as low as possible, with enough height so that your strings do not buzz and then attempt to then to match the neck radius as closely as possible.
Once you have your radius set, you can then adjust the height of the whole bridge by using the correct-sized hex key on each bridge post. This will allow you to bring each side of the bridge up or down, to help you fine-tune your action.
The basic idea is that the individual saddles should match your neck radius so that you can easily tweak the action using the two adjustments on each post.
A quick tip for any loose saddle screws is to affix them in place using either Loctite thread locker, or if you cannot find any of that you can use clear nail varnish.
Sometimes, especially on older guitars those individual saddle screws can work loose, so by putting a small drop of thread locker or nail varnish on them, it will keep them in place so they can’t vibrate loose and mess up your all hard work.

The Vibrato
The original Jazzmaster bridge is meant to work in tandem with the guitar’s vibrato, rocking back and forth as the arm is depressed or pulled up.
That rocking motion is part of the design, so your bridge should move as you use it and it uses a spring to set the tension of the unit.
What you do is string up your guitar and make sure under tension that the floating bridge is in the centre position when the strings are in tune.
Then as you use the vibrato, you should see the bridge move backwards and forwards, as you pull up or press down on the arm. Some players, block the bridge movement by wrapping the posts in tape and making it as solid as possible, but this isn’t how they were designed to be set up.
Break Angle
Now that you have a better break angle from shimming your neck, you should find that your floating bridge works as it was designed to, and if you have combined this with a set of at least gauge 10 strings or high, then the next part of this set up should be a breeze.
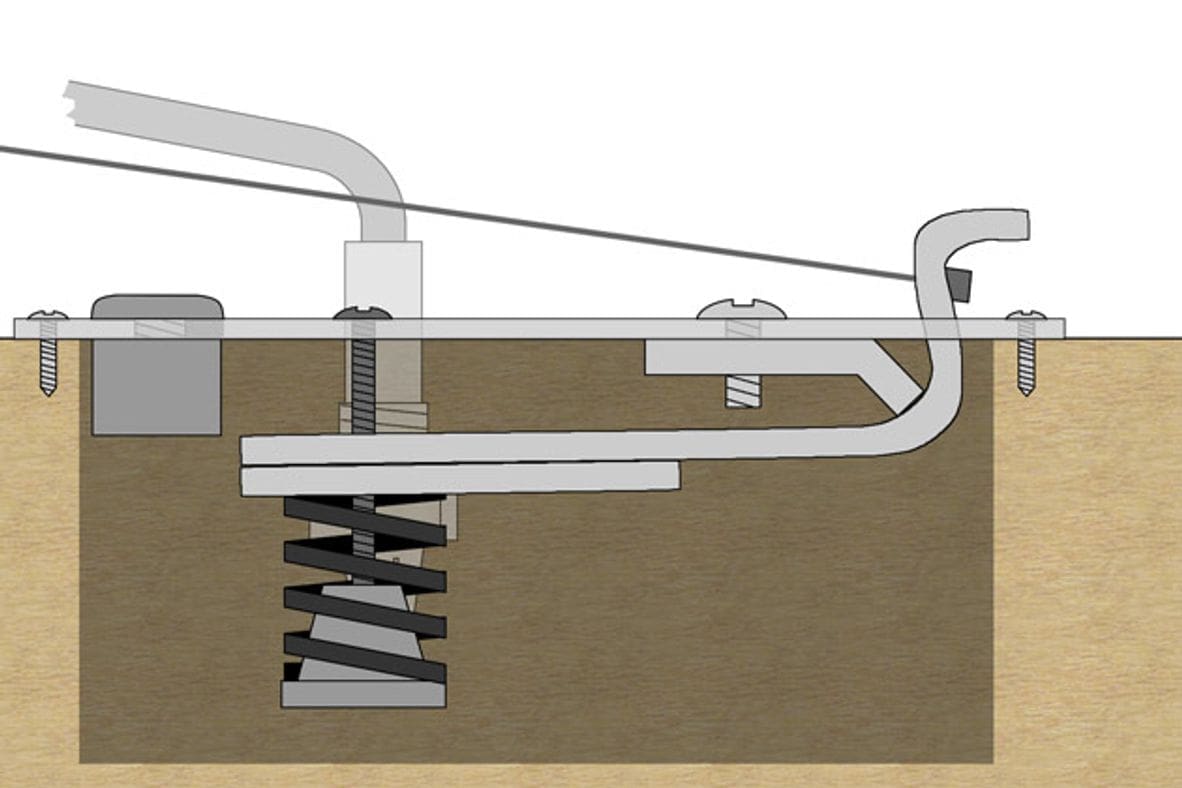
Collet & Pivot
The guitar strings anchor through the same metal plate as the collet (the thing that holds the arm in place) for the arm and the spring, which has an adjustable tension (the big screw in the centre of the top plate, which is parallel to the collet).
This whole vibrato unit then hinges on a pivot plate, which is attached to the face of the unit by the three large screws at the back of the vibrato, which. are near where you thread your strings through.
When you push the bar down, this pushes the anchor plate down toward the spring, which, in turn, pushes back. So you set the tensioning that big screw in the top plate.
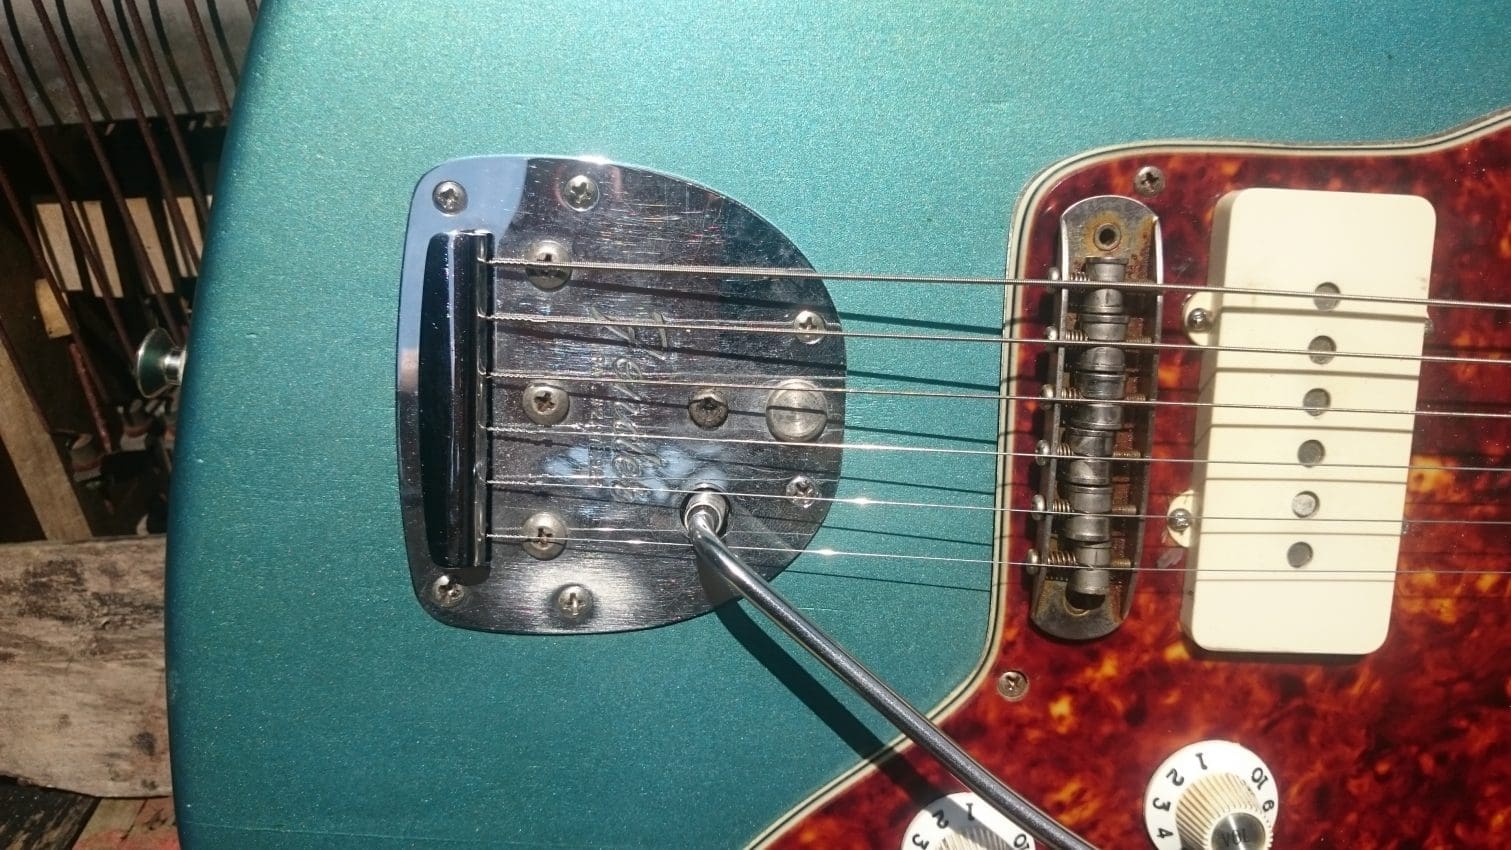
Trem Lock Button
It’s all about balance. The Trem Lock is the sliding button on the vibrato plate and the design is supposed to keep all your strings in tune if you accidentally break a string. If a string break does happen, the decreased string tension causes the unit to pull sharp. Sliding that button back, the vibrato “recalls” the tension of the remaining strings, returning them to pitch automatically.
Spring Tension/Lock Button
To get the button working properly, make sure all your strings are in tune first and then press down on the vibrato arm until you can slide the button all the way back.
When you release the arm, if the pitch is now lower, you will need to loosen the spring tension by turning the screw counterclockwise.
Return your strings back to pitch, and repeat until you’ve achieved balance. However, if you can easily slide the trem-lock button all the way back but still pull up on the bar, then you’ll need to tighten the spring tension by turning that screw clockwise.
Upgrades, Mods and Add ons
There are many upgrades for the Fender Jazzmaster and one of the most popular for many years was to replace the original with a Mustang bridge.
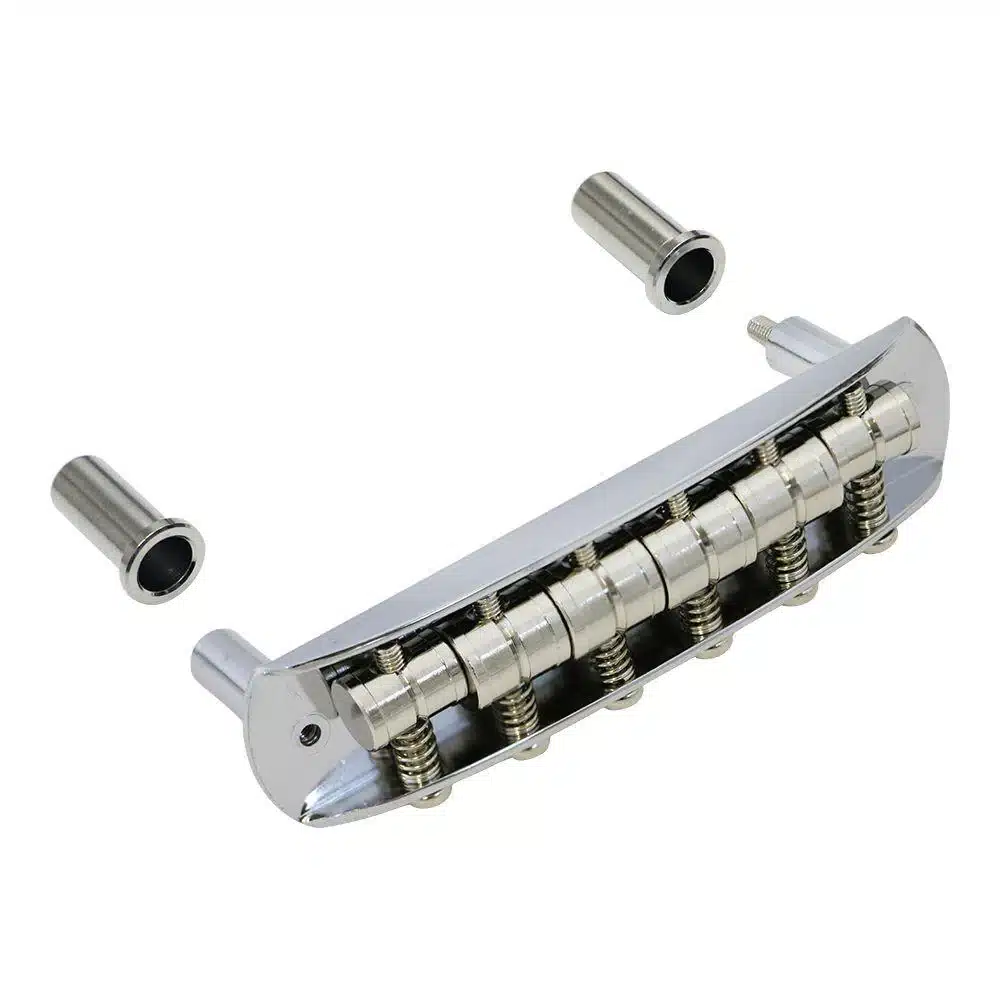
Essentially the Mustang bridge will fit into a Jazzmaster, with no major work, just you cannot adjust the individual saddle screws on a Mustang bridge and often the radius is fixed to 7.25″ and so won’t always match your neck radius.
A typical Mustang bridge is a pretty cheap upgrade and an easy fix for some guitars.
StayTrem & Mastery
Modern-day incarnations from companies like Staytrem have fixed this and added plastic collets to keep the height adjustment screws tight on both bridge posts.
You could also look at the Mastery Bridge but this one is fixed in place and will not move, however, it is adjustable and many modern players are in favour of them.

Buzz Stop
Allparts make a Buzz Stop and this attaches between the bridge and the vibrato, with the idea being it adds more tension, which should stop the strings from buzzing.
But these kill the string overtones which the Jazzmaster is famous for and I think you are much better off getting a good break angle by using a shim and using heavier gauge strings.

String Breaks
If you find that your strings are breaking down by the trem system, it can often be due to rough metal around the holes where you thread your strings through.
The easy fix for this is to take a needle file and remove the rough burrs of metal, or use some fine wet and dry sandpaper wrapped around a screwdriver to smooth those holes.
Another issue for some owners can be the strings hitting one of the outer three large screws at the back of the vibrato.
Here the quick fix is to take the plate off and remove the offending screws, but put them back in, just screw them in from inside the plate so that the screw heads don’t come into contact with your strings. It looks a little odd, but it works a treat.
Jazzmaster Joy!
Below is a great video explaining all the basics of the Jazzmaster/Jaguar trem system and it covers most of what I have laid out in this article.
I would always suggest that it is worth taking time, not rushing and learning how the floating trem system works, before you start spending money on upgrades. As quite often all a guitar needs is a heavier string gauge and a proper setup to stay perfectly in tune.
Guitar Bomb’s Current Favourite Jazzmaster models
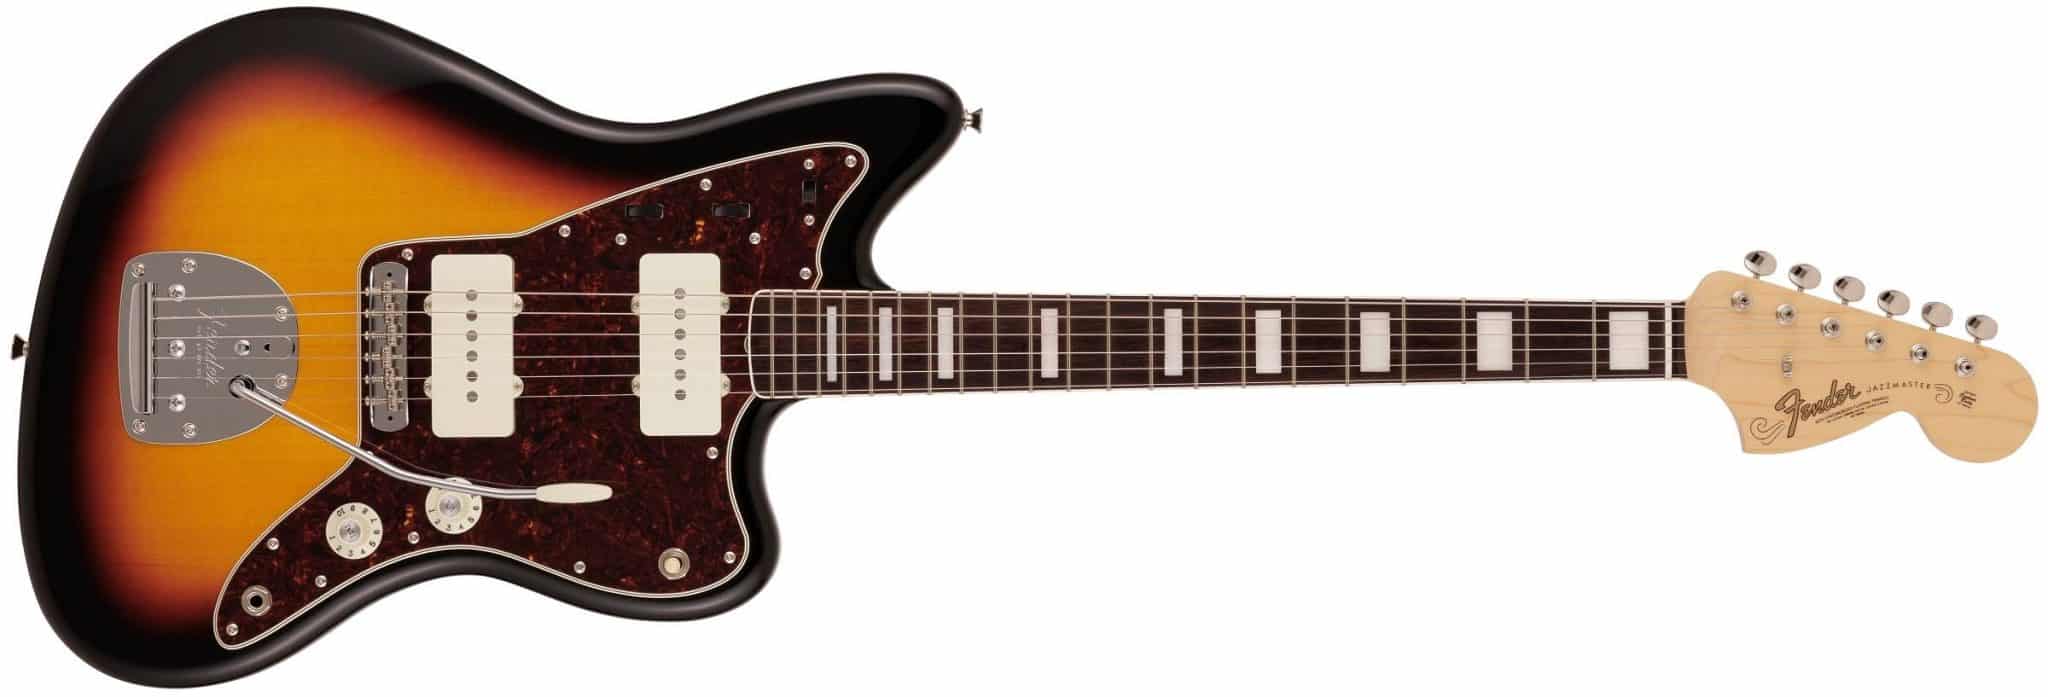
- Fender Troy Van Leeuwen Jazzmaster
- Fender AM Pro II Jazzmaster 3TSB
- Fender Vintera II 50s Jazzmaster DS
- Fender AV II 66 JAZZMASTER RW LPB
- Fender AV II 66 JAZZMASTER RW WT3TB
More How To guides on Guitar Bomb
- Mastering Your Guitar Setup: A Beginner’s Guide
- How to set up your Stratocaster floating trem
- How to set up a Gibson Les Paul and make it play like a dream
- How to set up a Squier Bass VI
Video
This article contains affiliate links to Thomann that help finance the running costs of GuitarBomb. If you buy something through these links, we will receive a small commission. Don’t worry as you pay the same price, and it costs you no extra to use these affiliate links for your purchases.


2 thoughts on “How to set up your Jazzmaster Trem System – A Complete Guide”
Reblogged this on The Vima Tresna.
This is such a great resource! I have learned many of these tips from scouring the internet for them, but you have compiled them all in one place. For me, shimming the neck and using loctite on the bridge screws fixed everything about my Jazzmaster. One word about shimming though – you really should use a full-pocket shim, like the ones you can buy at Stewmac, because a thin strip just at the edge of the neck pocket will warp the neck upwards there over time.