This is my guide on how to set up a Gibson Les Paul and make it play like a dream. If you have never set up a guitar before, make sure you have the correct tools and the space to work. This guide will aid you with all the things you will need to adjust and set.
How to set up a Gibson Les Paul
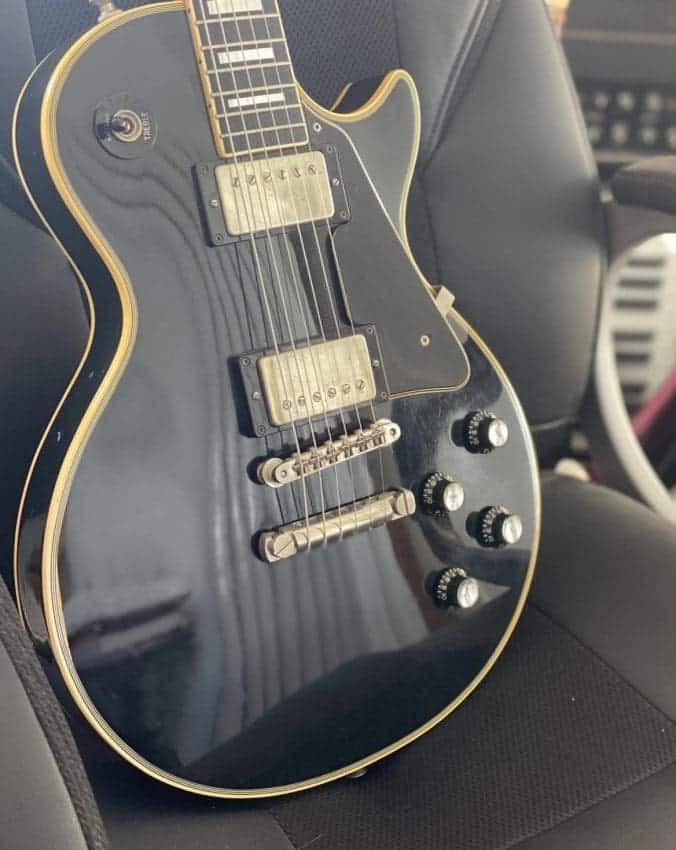
It isn’t that hard to set up a Gibson Les Paul and you can use a lot of the tips in this article for other brands of Single-Cut guitars SGs, Firebirds, 335s etc
Tools you will need
- A fresh set of strings
- A mat to work on (or a towel)
- Something to raise your guitar neck with (a rolled towel)
- Phillips head screwdriver
- Flat head screwdrivers
- Radius gauges
- Feeler gauges
- Capo
- String winder
- String cutters
- Tuner
- Jack lead
- ¼” box spanner
- Stanley blade
- Engineer’s ruler
- Sharpie pen
- Lemon oil or equivalent product (I like using bore oil)
- Fine grit wet and dry sandpaper
- Fret Erasers/Rubbers
- Wooden toothpicks
- Brasso
- 50p coin
- Ball of String
- Clean Rags
Make Time and clear a space
I would suggest you find a clear space where you can work, so you won’t accidentally knock and damage your guitar. It helps if you are relaxed, and a calm environment will certainly aid this job. Put on some music you enjoy and off you go.
Wash your hands and have a towel handy to wipe any dirt off them as you work.
Often, I will put down a towel for my guitar to rest on as I work. Then I will raise the headstock of the guitar using a neck holder, though you can use a rolled towel to do the job. This will stop you from damaging your guitar’s finish and stop your guitar from moving around as you clean it.
Use TRAIN to set up easily
Follow our TRAIN guide for basic setup order and it will make life a lot easier. This simple setup guide will work on any guitar.
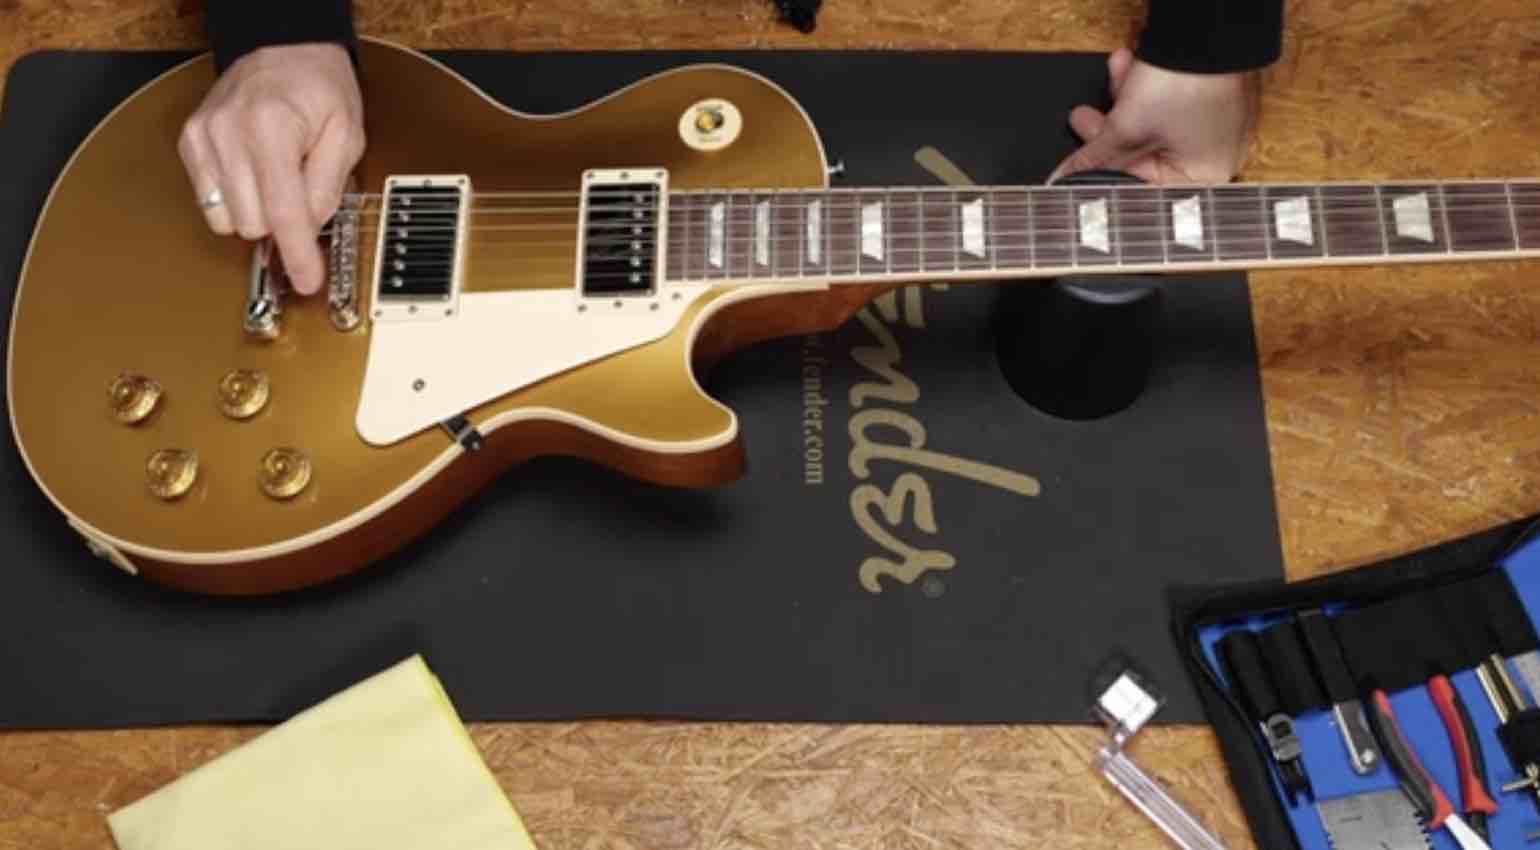
Clean that fretboard
First, remove the old strings from your guitar and clean your guitar’s fretboard. Start this process by removing any old residue and dirt from the fretboard. I tend to use a Stanley knife blade to gently scrape any of the old gunk off, and a clean rag.
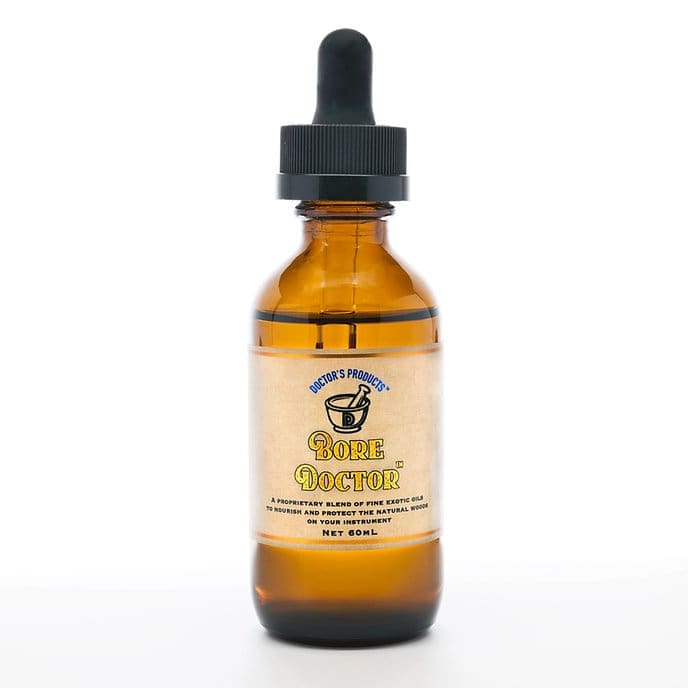
Take your time, don’t rush it and once you are happy it is clean then you can oil your fretboard. I tend to use Bore Oil myself, but Lemon Oil will also suffice. I put a little on a clean rag or my finger and rub it gently over the whole fretboard.
Use enough to lightly coat the fretboard and let it soak in before you remove any excess. The idea behind this step is to keep the fretboard from drying out which could also cause the frets to lift, or the fretboard to crack. Especially, if you live in a warmer climate.
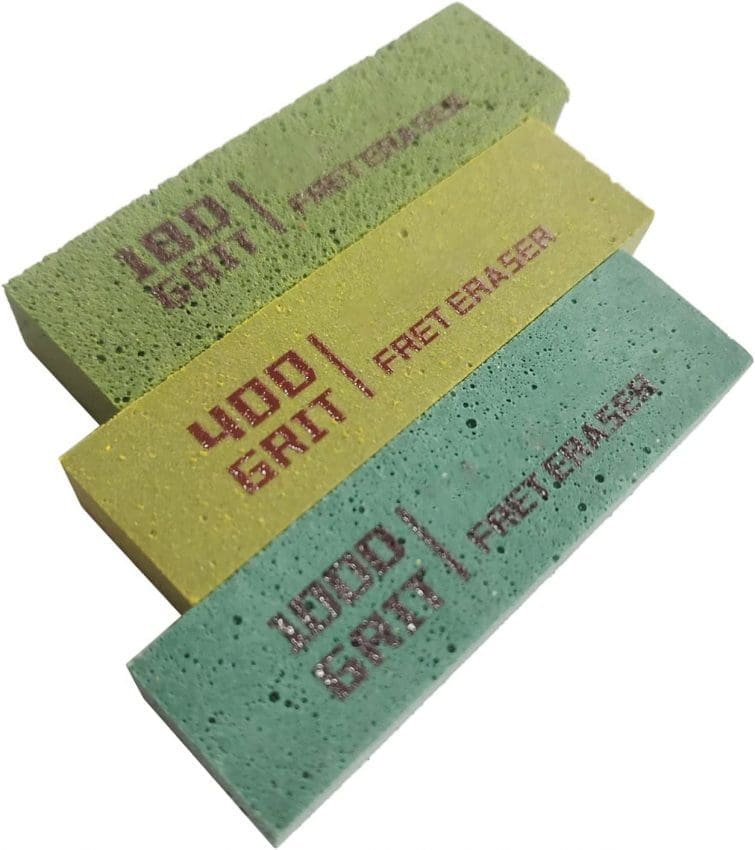
Once you have cleaned off any excess oil you can polish your frets. There are several methods, the easiest way though is to buy some fret erasers. I like these as they polish your frets nicely and they are simple to use.
Below is an example of some you can find on Amazon.
They last for ages and they come in different Grits so you can work up gradually to get your frets nice and mirror-like. Take your time, go slow and work from one end of the fretboard to the other. It is worth it, as makes playing your guitar a much smoother experience, so put some love into this stage.
Check your bridge and nut
The two anchor points main for your guitar string are the nut and the bridge saddles. Clean the nut slots and you can use a wooden toothpick to do this. Scrape any old lubricant and dirt from the nut slots.
Now do the same for the bridge saddles, make sure they are clean and smooth. If you find any odd sharp grooves or dints in your nut or your bridge saddles, then you can a very fine grit piece of wet and dry sandpaper to smooth them. Go slow and don’t overdo it, the idea is to clean it up and not to make the grooves/slots any deeper or wider.
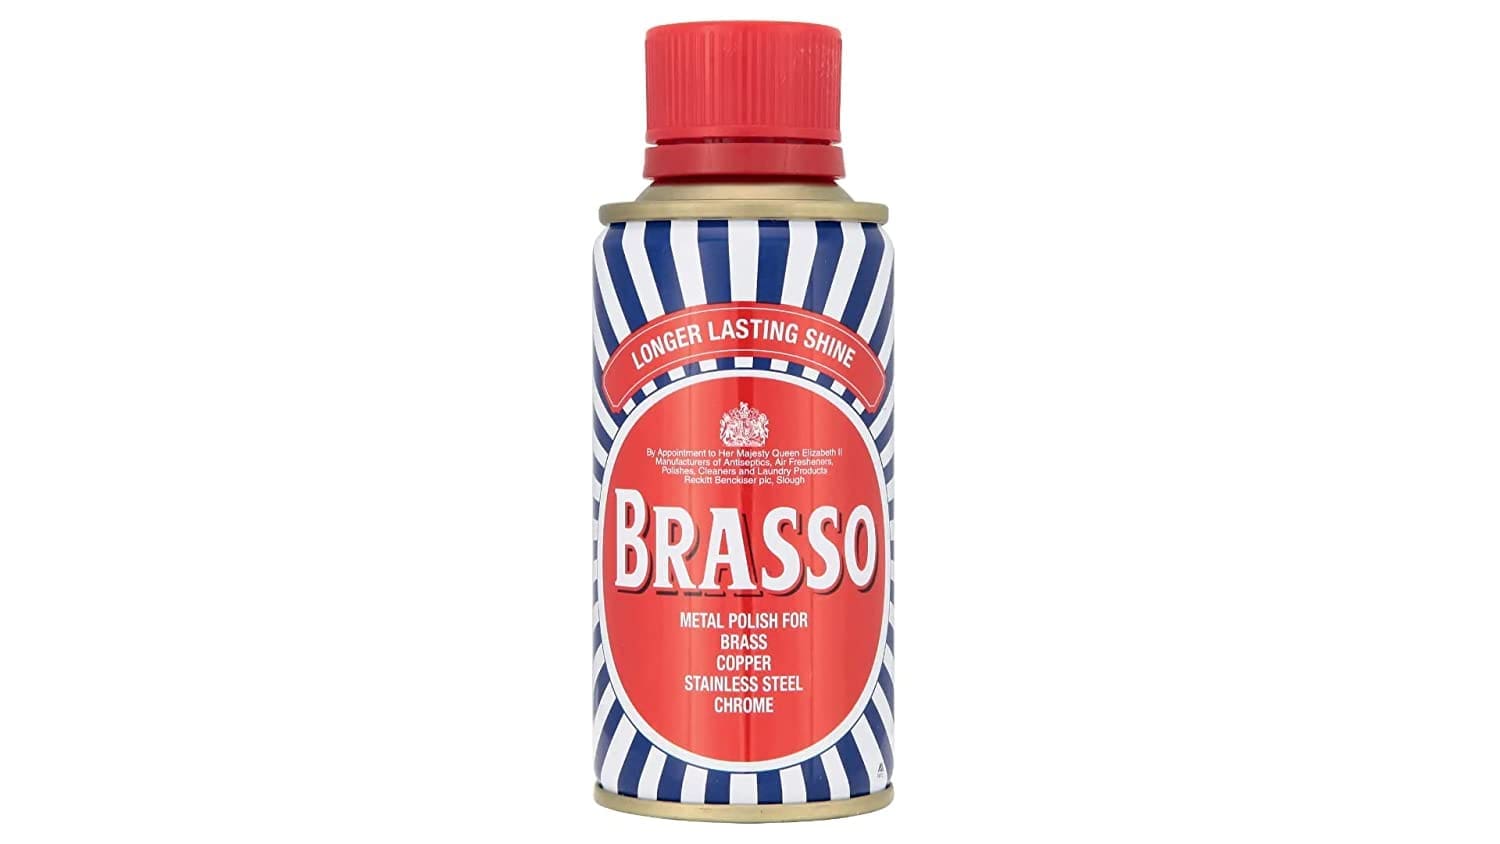
I like to polish the nut and the saddles before I add any lubricant and finally re-string the guitar. I use Brasso to do this, as it has a very fine cutting agent. I shake that bottle well and then take a piece of string and soak a small amount of Brasso on the string. Then I use this in the nut slot to polish the slot and make it super smooth. Then repeat the whole process for each saddle on the bridge.
If you fray the string lightly it becomes easier to work it into the grooves and get a good polish. Once you have polished the nut and the bridge saddles, take a clean rag and remove any excess Brasso from the area.
Set your radius
Your fretboard is set at a certain radius curvature and the strings have got to match it. Ideally, use a radius gauge and make sure your bridge saddles follow that radius. If you have an incorrect radius then your guitar’s action will not be at an optimum setting.
A Gibson Les Paul has a 12″ radius.
However, other guitar brands may vary, with some having a compound radius, for example, 10″ to 12″
On a Les Paul, you cannot adjust individual saddles heights, so if there is an issue, it could be the bridge is worn out and needs replacing or that one of the saddles is worn down. It is better to replace a worn bridge or saddle, rather than compromise on playability.
Keep any original worn parts, as they can sometimes be repaired by a competent luthier.
Truss Rod Inspection
Remove your guitar’s truss rod cover and put those small screws somewhere safe. Under the cover, you will see a truss rod adjuster nut. Gibson uses a ¼” brass nut.
Therefore, you will need a ¼” box spanner to adjust it.
On Les Paul copies you may find a hex nut that requires an Allen key. Mark its current location with a Sharpie pen for reference. Don’t adjust it until you have re-strung the guitar, but look at it now whilst the strings are off the guitar.
Remember Right to tight and Left to loosen.
I would always advise you to loosen it first. If the truss rod is stiff or fully tightened, you could make this job a lot harder for yourself. The mark we made with the Sharpie earlier will show you the starting position and will aid the adjustment later.
Inspect the truss rod nut and if it looks like it has been tightened as far as it will go, or if it is too loose, then we will address that once we have re-strung the guitar. Best to look now though, as then we know what to check later.
Re-string
Re-string your guitar with your favourite string gauge. Whether or not you choose to ‘Top Wrap’ is down to you and possibly the break angle of your Les Paul’s neck. Ideally, you want to lock your strings in place to stop them from slipping and to keep your tuning rock solid.
Tune to the guitar to pitch.
Lube your slots
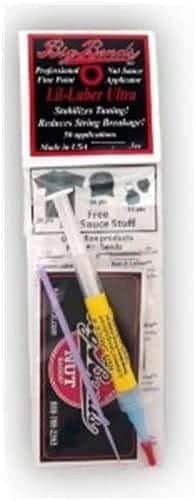
Ideally, you should lubricate your nut slots and your bridge saddles to help keep your guitar from going out of tune. Products like Big Bend’s Nut Sauce are perfect for this job and come with a handy applicator as well.
A small amount is all you need and keeps those string contact points nice and lubricated.
Setting your action
Use a capo on the first fret of the guitar, now press down on the 15th fret and then use the straight string as a visual guide to see how bent forward the neck is.
The feeler gauge is put over the eighth or ninth fret underneath the string. And .007” is the ideal clearance you are looking for.
Any smaller than that clearance amount and the string will knock onto the frets when played and much higher than that and the string’s height will be too high.
Time to adjust the truss rod.
Remember Right tight, left loose. Clockwise to close the clearance gap and anti-clockwise to increase the gap.
As I mentioned earlier, loosen it first. Then start to make your adjustments.
If the truss rod won’t tighten enough, you may have an issue. This will possibly require a luthier to look at your guitar. Sometimes, you will see added brass or metal washers used to counteract this lack of adjustment. Whereas, if the brass nut is loose, then it will just need to be tightened a little.
- Make sure you mark your starting point with a Sharpie
- Right tight, Left loose
- Always loosen a little first
- Go slow
- Only turn a quarter of a turn at a time
- The smallest adjustment is all you normally need
Check your nut
Fit your capo on at the third fret and then check the clearance over the first fret and under the string. You should have .004” to .008” clearance on your feeler gauge.
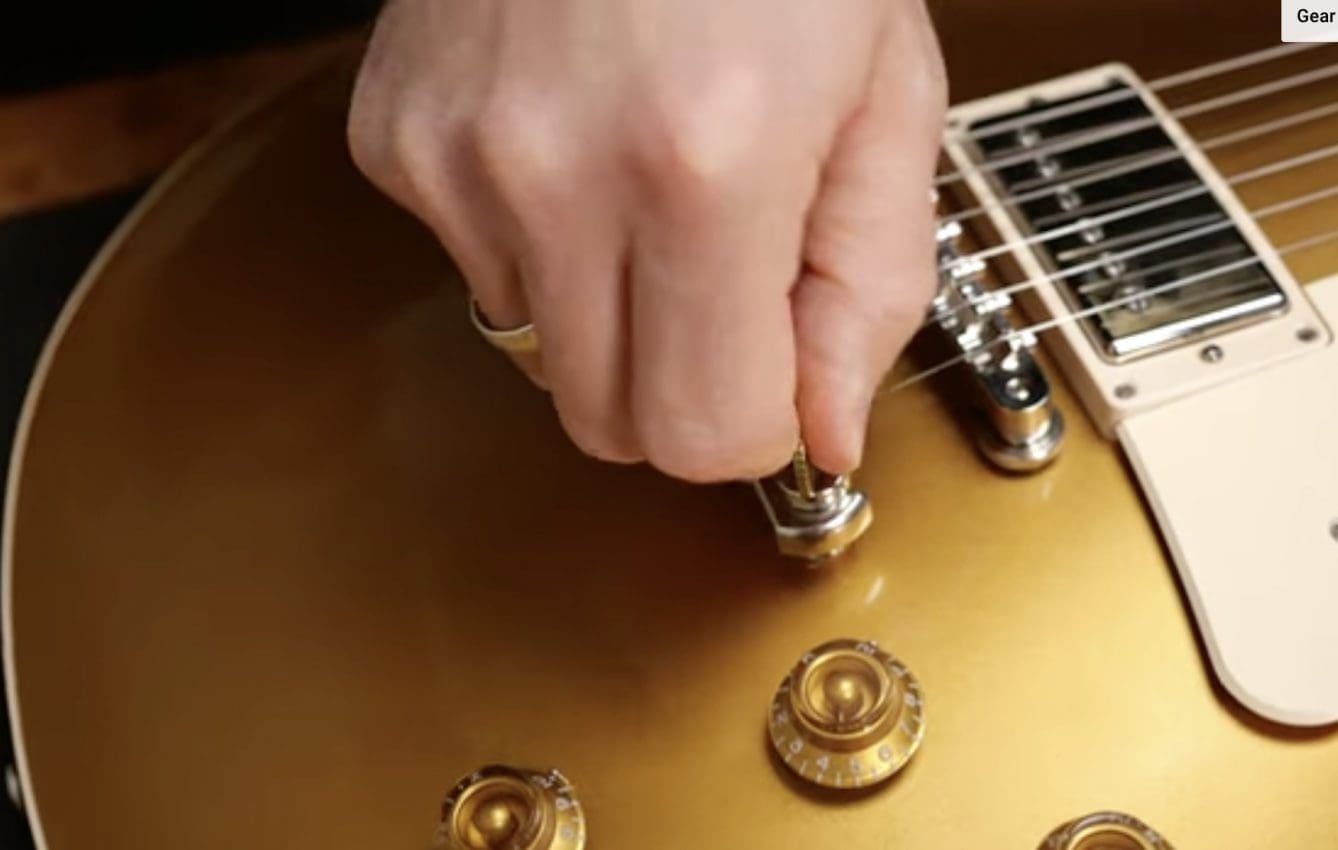
Check your Bridge
Set the bridge height by turning the thumbwheel adjusters. At the 12th fret (with no capo on) measure the distance on the Low E and set it to 2mm. On the High E set the clearance to 1.5mm. Check again that you’re in tune and then double-check the sixth again.
Here is a handy link that explains the various types of bridges for a Les Paul, which can help you identify which one is on your guitar. Normally, it will be either an ABR or a Nashville bridge.
Set Intonation
Make sure you use the correct size screwdriver and you may want to put some cloth over the body of your guitar. Because if you slip you might scratch your finish. As ever go slow and use a guitar tuner.
Play a harmonic at the 12th fret and then compare it to the fretted note on the same fret for each string. If it’s sharp, move the saddle backwards. Whereas if it is flat, move it forward.
Once you have set your intonation, retune the guitar.
Use a coin
If you need to adjust the stop bar, then always use a coin, as it was designed to be adjusted using one originally. Do not use a flathead screwdriver. I tend to use a 50p coin to do this. The lower it is set the more tension you put on your bridge, which is sometimes why you see old Les Paul bridges collapse over time.
Top Wrapping?
One of the reasons that I have always Top Wrapped my Les Pauls, is that I like less tension down there and I like my stop bar as low as possible. Ideally, you do not want the strings to hit the back side of the bridge, as it makes another point of contact that is not desirable. Avoid any added friction and contact ideally.
Top Wrapping is not a magical solution, but on a Les Paul with a poorly set neck, it can be used to create a better break angle over the bridge.
More How To guides on Guitar Bomb
- How to set up your Jazzmaster trem
- How to set up a Squier Bass VI
- Mastering Your Guitar Setup: A Beginner’s Guide
- How to set up your Stratocaster floating trem