Mastering Your Guitar Setup: The world of guitar playing is a diverse and exciting one, with endless possibilities for creating beautiful music. Whether you’re a beginner or an experienced player, understanding the importance of a proper guitar setup is essential for achieving the best playability and sound quality.
Mastering Your Guitar Setup
In this comprehensive guide, we’ll delve into the intricacies of guitar setup, covering everything from adjusting the action to fine-tuning your intonation.
By the end of this guide, you’ll be well-equipped to optimize your guitar for peak performance.
The Importance of Guitar Setup
Your guitar setup plays a pivotal role in how your instrument feels and sounds. A well-adjusted guitar ensures comfortable playability, reduces the risk of buzzing strings, and enhances intonation accuracy. This, in turn, contributes to improved tone quality and overall performance.

Tools You’ll Need
Before you start, gather the following essential tools for a successful setup:
- Allen wrenches for truss rod and saddle adjustments
- Screwdrivers for bridge and pickup height adjustments
- Feeler gauges for measuring string height
- Capo
- Tuner
- String winder
- String cutter
- Guitar polish and microfiber cloth

Neck and Truss Rod Adjustment
Assessing Neck Relief
Begin by checking the neck relief. Proper neck relief ensures that the guitar neck has a slight bow, allowing the strings to vibrate without touching the frets.
Use a capo on the first fret, press down on the last fret, and measure the gap between the string and the 8th or 9th fret with a feeler gauge. Adjust the truss rod as needed to achieve the desired relief.
Adjusting the Truss Rod
The truss rod is a critical component for controlling neck relief. Clockwise turns tighten the truss rod, reducing neck relief, while counterclockwise turns loosen it, increasing neck relief.
Make small adjustments, and always consult your guitar’s manual or a professional if you’re unsure.

Checking Nut Height
Inspect the nut slots to ensure they are properly cut. If they’re too high, the first few frets may feel stiff, making it harder to play. If too low, you may encounter string buzz.
Adjusting nut height may require professional assistance.
String Action
Measuring String Action
String action refers to the distance between the strings and the fretboard. It greatly affects playability.
Measure the string height at the 12th fret using feeler gauges. Generally, lower action allows for faster playing but may lead to string buzz, while higher action can make bending notes easier.

Adjusting String Height at the Bridge
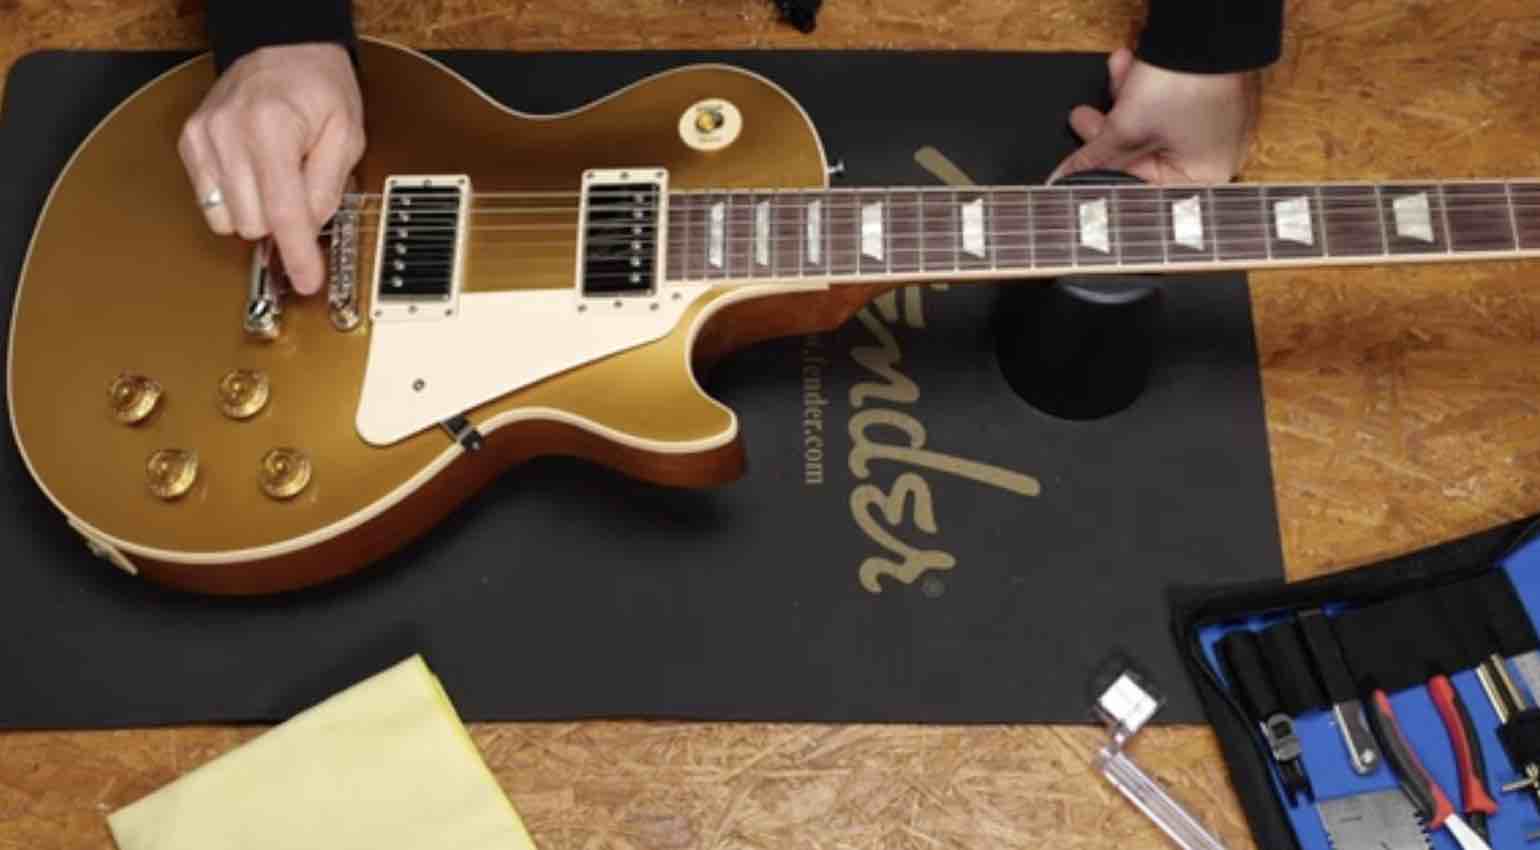
Most electric guitars feature adjustable bridge saddles. Use the provided screwdrivers or Allen wrenches to raise or lower the saddles, thereby adjusting string height. Make incremental changes until you find the sweet spot for your playing style.
Setting Up for Your Playing Style
The ideal string action varies based on personal preferences. Players who prefer aggressive strumming and bending may opt for slightly higher action, while those who favor fast lead playing may want lower action. Experiment to find what suits you best.

Intonation
What Is Intonation?
Intonation ensures that each note plays in tune along the entire fretboard. A poorly intonated guitar may sound out of tune, even when the open strings are perfectly tuned. To check intonation, compare the open string’s pitch with the 12th fret harmonic.
Setting Intonation Correctly
Use a screwdriver or Allen wrench to adjust the saddle position for each string. Move the saddle forward (towards the neck) to correct a sharp intonation, and backward (towards the bridge) for a flat intonation. Fine-tune until the 12th fret harmonic matches the open string pitch.
Nut and Bridge Setup
Inspecting the Nut
The nut plays a crucial role in maintaining proper string spacing and tension. Check for any worn or damaged nut slots. If you notice issues, consider replacing the nut or consulting a luthier.
Lubricating the Nut
Apply a small amount of nut lubricant to reduce friction, ensuring smooth tuning stability and minimizing string binding. This step is often overlooked but can significantly impact your setup.
Bridge Setup and Adjustment
For electric guitars with tune-o-matic bridges, make sure the bridge is level and that the saddle heights are consistent. Adjust as needed to fine-tune your action and intonation.

Pickup Height Adjustment
Why Pickup Height Matters
The distance between your pickups and strings affects your guitar’s tone. Higher pickups produce a stronger output with more treble, while lower pickups result in a mellower sound. Adjust the pickups to achieve your desired tonal balance.
Balancing Pickup Height
Use a screwdriver to raise or lower the pickup height screws. Experiment with different heights to find the perfect balance between your guitar’s neck and bridge pickups.
Fret Maintenance
Identifying Fret Issues
Check your frets for signs of wear and unevenness. Fret problems can lead to buzzing or intonation issues. In extreme cases, consider fret leveling and dressing by a professional.
Fret Leveling and Dressing
Fret leveling and dressing involve reshaping and polishing frets for optimal playability. This is a delicate process best left to experienced luthiers.
Polishing Frets
Regularly polish your frets to prevent corrosion and maintain a smooth playing surface. Use fine steel wool or specialized fret polishing tools.

Tuning Stability
Stretching and Re-stringing
New strings require stretching to settle into tune. Gently pull each string along its length to remove excess slack. Regularly re-string your guitar to maintain optimal tone and playability.
Using Locking Tuners
Locking tuners provide greater tuning stability by preventing string slippage at the tuning peg. Consider upgrading to locking tuners for more reliable performance.
Lubricating the Nut
Applying a small amount of nut lubricant at the contact points of the nut can reduce friction and enhance tuning stability.

Maintaining Your Setup
Regular Checkups
Guitar setup is not a one-time task. Regularly inspect and maintain your setup to ensure it remains in optimal condition.
Environmental Considerations
Fluctuations in temperature and humidity can affect your guitar’s setup. Store your instrument in a stable environment to minimize these effects.
Guitar Care Tips
Regularly clean and condition your fretboard and body, protect your guitar from physical damage, and keep it in a quality case when not in use.

Conclusion
A well-set-up guitar can make a world of difference in your playing experience.
By understanding the various aspects of guitar setup and how to fine-tune them to your preferences, you can achieve the best playability and sound quality from your instrument.
Remember that practice and patience are key when mastering your guitar setup skills. As you become more proficient, you’ll develop a deeper connection with your instrument and unlock its full potential.
So, don’t hesitate to start your guitar setup journey today and elevate your playing to new heights.
More How To guides on Guitar Bomb
- How to set up your Stratocaster floating trem
- How to set up a Gibson Les Paul and make it play like a dream
- How to set up your Jazzmaster trem
- How to set up a Squier Bass VI
Useful Guitar Setup Tools
- Wera 9100 Guitar Set
- Fender Multi-Tool Guitar/Bass
- GrooveTech Tools Guitar Player Tech Kit
- GrooveTech Tools Stagehand Compact Tech Kit
Useful Videos


This article contains affiliate links to Thomann that help finance the running costs of GuitarBomb. If you buy something through these links, we will receive a small commission. Don’t worry as you pay the exact same price, and it costs you no extra to use these affiliate links for your purchases.

